Introduction
In this tutorial, you will learn how to write and deploy a Django API to Heroku using Semaphore. You’ll also learn how to run Django tests on Semaphore, and how to use Heroku pipelines and Heroku review apps with Semaphore. If you’d like to use Semaphore to deploy to other platforms, you can find guides to setting up automatic and manual deployment in Semaphore documentation.
The API we will build is a very simple movie API, which will have CRUD routes for operations on movies.
A movie object will have this very simple representation:
{
  "name": "A movie",
  "year_of_release": 2012
}
The routes we will be implementing are:
\movies - GET & POST
\movies\<pk> - GET, PUT & DELETE
To keep it simple, we won’t implement any authentication in our API.
Prerequisites
To follow this tutorial, you need to have the following installed on your machine:
- Python 3.6.1 (This is what I will be using. Any 3.x or 2.7.x version should also be fine).
- Git.
You’ll also need to have Github, Semaphore, and Heroku accounts.
Note: we won’t cover how to use Git or Github in this tutorial. For more information on that, this is a good place to start.
Setting Up the Environment
Create a Github repo. We’ll name it movies-api. Make sure to add a Python .gitignore before clicking Create Repository.
After that, clone it to your local machine and cd into it.
Once inside the movies-api directory, we are going to create a few branches.
- A
stagingbranch for testing deployments.
git branch staging && git push --set-upstream origin staging
- A
developbranch for code review.
git branch develop && git push --set-upstream origin develop
- A
featurebranch which we will be working on.
git checkout -b ft-api && git push --set-upstream origin ft-api
The last command that created the ft-api branch also moved us to it. We should now be on the ft-api branch, ready to start.
Now let’s create a Python virtual environment and install the dependencies we need.
python3 -m venv venv
That command creates an environment called venv which is already ignored in our .gitignore.
Next, start the environment.
source venv/bin/activate
After that, we’ll install the libraries we will be using, Django and Django Rest Framework for the API.
pip install django djangorestframework gunicorn
Create the requirements.txt file.
pip freeze requirements.txt
Next, let’s create our Django project, and simply name it movies.
django-admin startproject movies
cd into movies and create an application called api.
./manage.py startapp api
That’s it for the setup. For your reference, we’ll be using Django v1.11 and Django Rest Framework v3.6.3.
Writing tests
If you inspect the directory structure of movies-api, you should see something resembling this:
movies-api/\
├── movies\
├──├── api\
├──├──├── migrations\
├──├──├── \_\_init__.py\
├──├──├── admin.py\
├──├──├── apps.py\
├──├──├── models.py\
├──├──├── tests.py\
├──├──├── views.py\
├──├── movies\
├──├──├── \_\_init__.py\
├──├──├── settings.py\
├──├──├── urls.py\
├──├──├── wsgi.py\
├──├── manage.py\
├── venv\
├──.gitignore\
├──LICENSE
We shall be working mostly in the first movies inner folder, where manage.py is located. If you are not in it, cd into it now.
Firstly, we’ll register all the applications we introduced under INSTALLED_APPS in settings.py.
# movies-api/movies/movies/settings.py

INSTALLED_APPS = [
    ...
    'rest_framework', # add this
    'api' # add this
]
In the api application folder, create the files urls.py and serializers.py.
Also, delete the tests.py file and create a tests folder. Inside the tests folder, create test_models.py and test_views.py. Make sure to add an __init__.py file as well.
Once done, your api folder should have the following structure:
api/\
├── migrations/\
├── tests/\
├──├── \_\_init_\_.py\
├──├── test_views.py\
├── \_\_init_\_.py\
├── admin.py\
├── apps.py\
├── models.py\
├── serializers.py\
├── urls.py\
├── views.py
Let’s add the tests for the movie model we’ll write inside test_models.py.
# movies-api/movies/api/tests/test_models.py

from django.test import TestCase

from api.models import Movie


class TestMovieModel(TestCase):
    def setUp(self):
        self.movie = Movie(name="Split", year_of_release=2016)
        self.movie.save()

    def test_movie_creation(self):
        self.assertEqual(Movie.objects.count(), 1)

    def test_movie_representation(self):
        self.assertEqual(self.movie.name, str(self.movie))
The model tests simply create a Movie record in the setUp method. We then test that the movie was saved successfully to the database.
We also test that the string representation of the movie is its name.
We shall add the tests for the views which will be handling our API requests inside of test_views.py.
# movies-api/movies/api/tests/test_views.py

from django.shortcuts import reverse

from rest_framework.test import APITestCase

from api.models import Movie


class TestNoteApi(APITestCase):
    def setUp(self):
        # create movie
        self.movie = Movie(name="The Space Between Us", year_of_release=2017)
        self.movie.save()

    def test_movie_creation(self):
        response = self.client.post(reverse('movies'), {
            'name': 'Bee Movie',
            'year_of_release': 2007
        })

        # assert new movie was added
        self.assertEqual(Movie.objects.count(), 2)

        # assert a created status code was returned
        self.assertEqual(201, response.status_code)

    def test_getting_movies(self):
        response = self.client.get(reverse('movies'), format="json")
        self.assertEqual(len(response.data), 1)

    def test_updating_movie(self):
        response = self.client.put(reverse('detail', kwargs={'pk': 1}), {
            'name': 'The Space Between Us updated',
            'year_of_release': 2017
        }, format="json")

        # check info returned has the update
        self.assertEqual('The Space Between Us updated', response.data['name'])

    def test_deleting_movie(self):
        response = self.client.delete(reverse('detail', kwargs={'pk': 1}))

        self.assertEqual(204, response.status_code)
For the views, we have four main test cases. We test that the a POST to movies/ creates a movie record successfully. We also test that a GET to movies/ returns the correct result. Lastly, we test that PUT and DELETE to movies/<pk> return correct data and status codes.
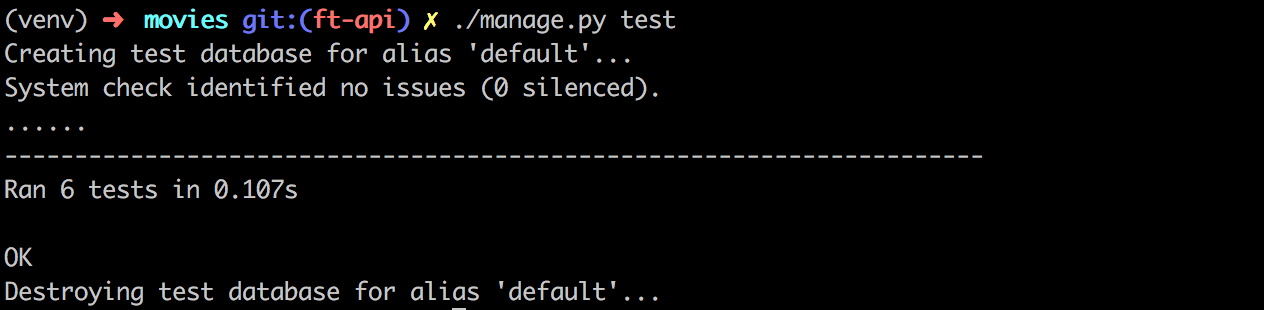
You can run the tests using manage.py:
python manage.py test
You should see a lot of errors, 6 to be exact. Don’t worry, we’ll be fixing them in the following sections, in a TDD manner.
Defining the Routes
Let’s define the URLs for the API.
We are going to start by editing movies-api/movies/movies/urls.py to look as follows:
# movies-api/movies/movies/urls.py

...
from django.conf.urls import url, include # add include as an import here
from django.contrib import admin

urlpatterns = [
    url(r'^admin/', admin.site.urls),
    url(r'^api/v1/', include('api.urls')) # add this line
]
The modifications are to tell Django that any request starting with api/v1 should be routed to the api application and they will be handled there.
Now let’s go the urls.py you created inside the api application folder and add this to it:
# movies-api/movies/api/urls.py

from django.conf.urls import url

from api.views import MovieCreateView, MovieDetailView

urlpatterns = [
    url(r'^movies/$', MovieCreateView.as_view(), name='movies'),
    url(r'^movies/(?P<id>[0-9]+)$', MovieDetailView.as_view(), name='detail'),
]
Simply put, we have defined two forms of URLs; api/v1/movies/ which will use the MovieCreateView view, and api/v1/movies/<pk> which will use the MovieDetailView view.
The next section will focus on building the movie models & views.
Building the Views
Let’s start with the model definition in models.py.
We are going to be storing only the movie’s name and year_of_release. Our very simple model should look something like this:
# movies-api/movies/api/models.py

from django.db import models

class Movie(models.Model):
    name = models.CharField(max_length=100)
    year_of_release = models.PositiveSmallIntegerField()

    def __str__(self):
        return self.name
Once you have created the model, go to your terminal and make new migrations:
./manage.py makemigrations
Then, run the migrations:
./manage.py migrate
Running the tests at this point using ./manage.py test should result in only 4 errors since the 2 tests we wrote for the model are now satisfied.
Let’s now move to the views. We will first need to create the serializer for the model in serializers.py. Django Rest Framework will use that serializer when serializing Django querysets to JSON.
# movies-api/movies/api/serializers.py

from rest_framework.serializers import ModelSerializer

from api.models import Movie

class MovieSerializer(ModelSerializer):
    class Meta:
        model = Movie
        fields = ('id', 'name', 'year_of_release')
        extra_kwargs = {
            'id': {'read_only': True}
        }
We are using Rest Framework’s ModelSerializer. We pass our Movie model to it and specify the fields we would like to be serialized.
We also specify that id will be read only because it is system generated, and not required when creating new records.
Let’s finish by defining the views inside views.py. We will be using Rest Framework’s generic views.
# movies-api/movies/api/views.py

from rest_framework.generics import ListCreateAPIView, RetrieveUpdateDestroyAPIView

from api.models import Movie
from api.serializers import MovieSerializer


class MovieCreateView(ListCreateAPIView):
    queryset = Movie.objects.all()
    serializer_class = MovieSerializer

class MovieDetailView(RetrieveUpdateDestroyAPIView):
    queryset = Movie.objects.all()
    serializer_class = MovieSerializer
In short, we are using ListCreateAPIView to allow GET and POST and RetrieveUpdateDestroyAPIView to allow GET, PUT and DELETE.
The queryset defines how the view should access objects from the database. The serializer_class attribute defines which serializer the view should use.
At this point, our API is complete. If you run the test cases, you should see 6 successful test cases.
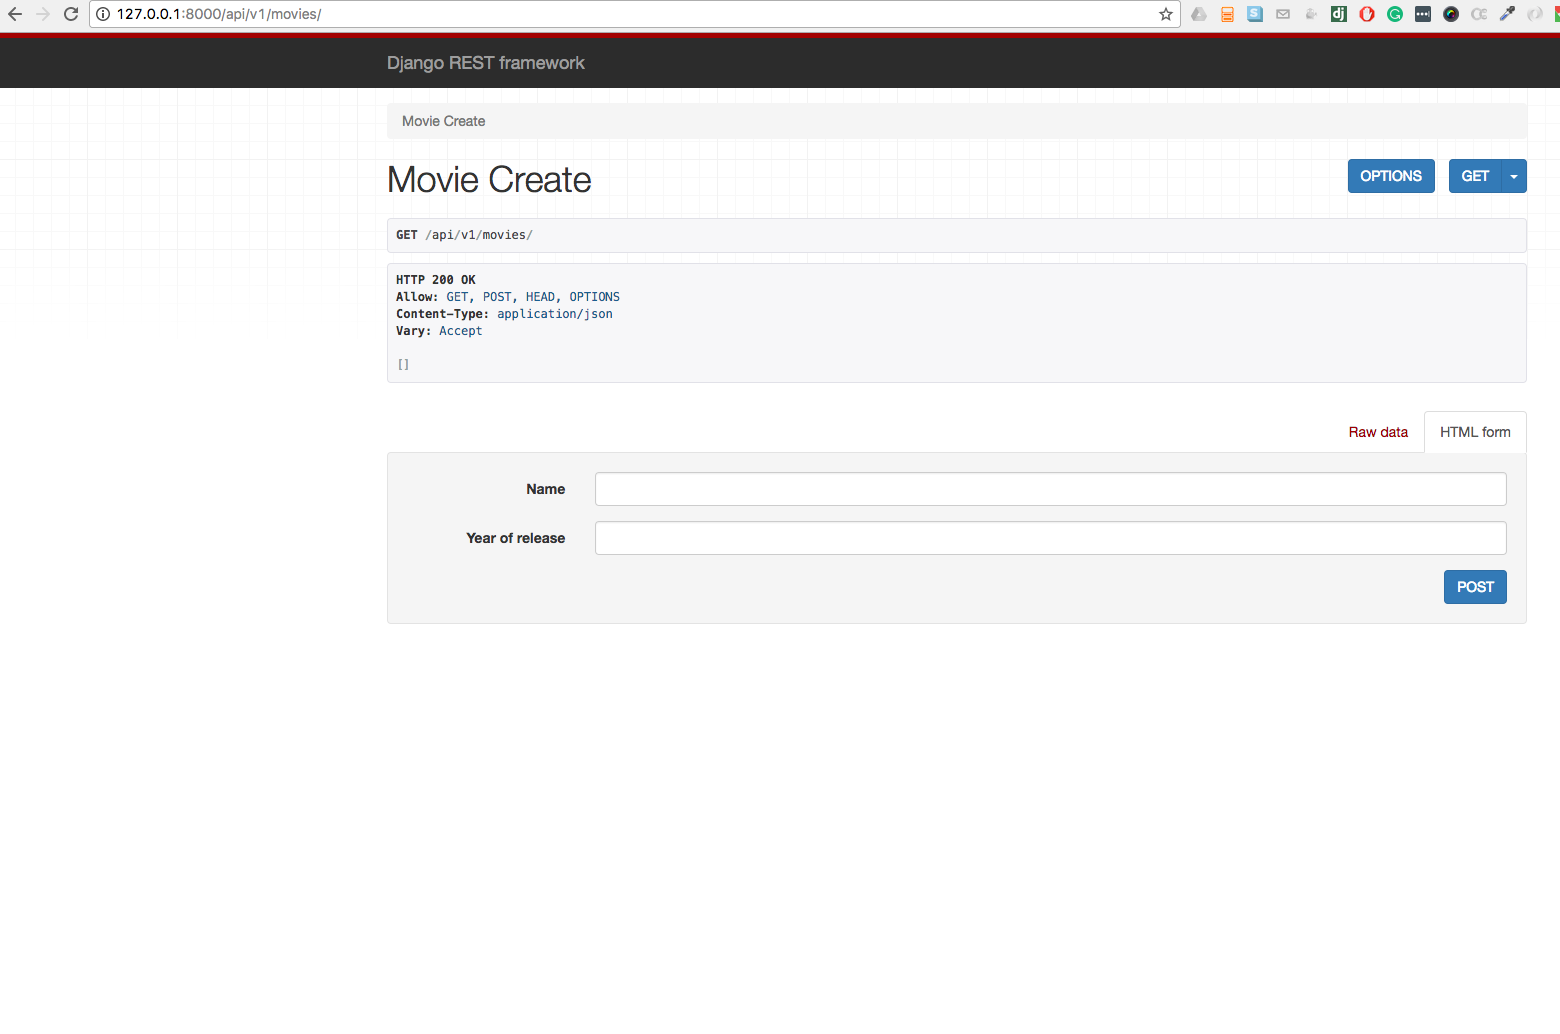
You can also run ./manage.py runserver and point your browser to http://localhost/8000/api/v1/movies to play with Django Rest Framework’s web browsable API.
Lastly, we need to make sure that our code is deployable to Heroku.
Create a file called Procfile in the root of your application i.e in the movies-api folder. Inside it, add this:
web: gunicorn movies.wsgi --pythonpath=movies --log-file -
Make sure all your code is committed and pushed to Github on the ft-api branch.
Running Tests on Semaphore
First, sign up for a free Semaphore account if you don’t have one already.
Log in to your Semaphore account then click Add new project.

We’ll add the project from GitHub, but Semaphore supports Bitbucket as well.
After that, select the repository from the list presented, and then select the branch ft-api.
Once the analysis is complete, you will see an outline of the build plan. We’ll customize it to look like this:
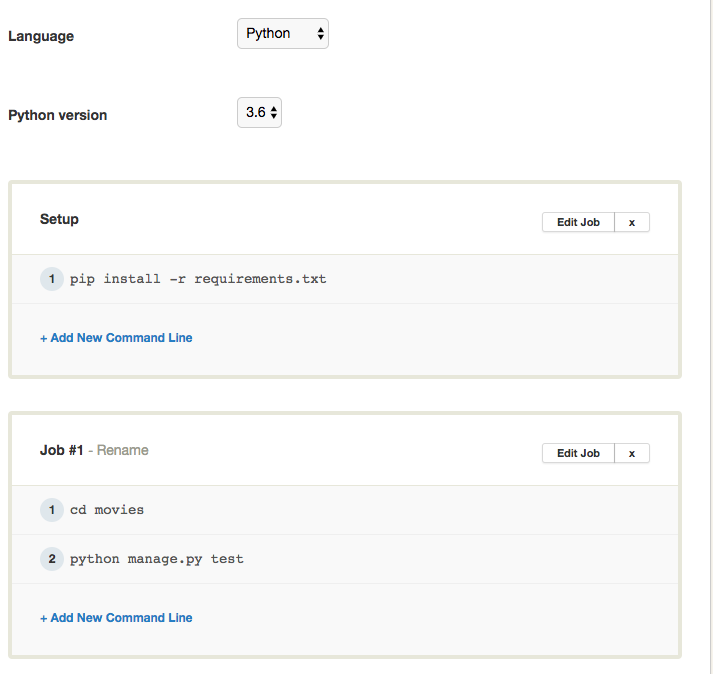
Note that we’re using Python v3.6 here, and our Job commands are cd movies && python manage.py test.
After that, scroll down and click Build with these settings.
Your tests should run and pass successfully.
After that, go to Github and merge ft-api into the develop branch. Delete the ft-api branch. Then merge develop into staging, and then staging into master.
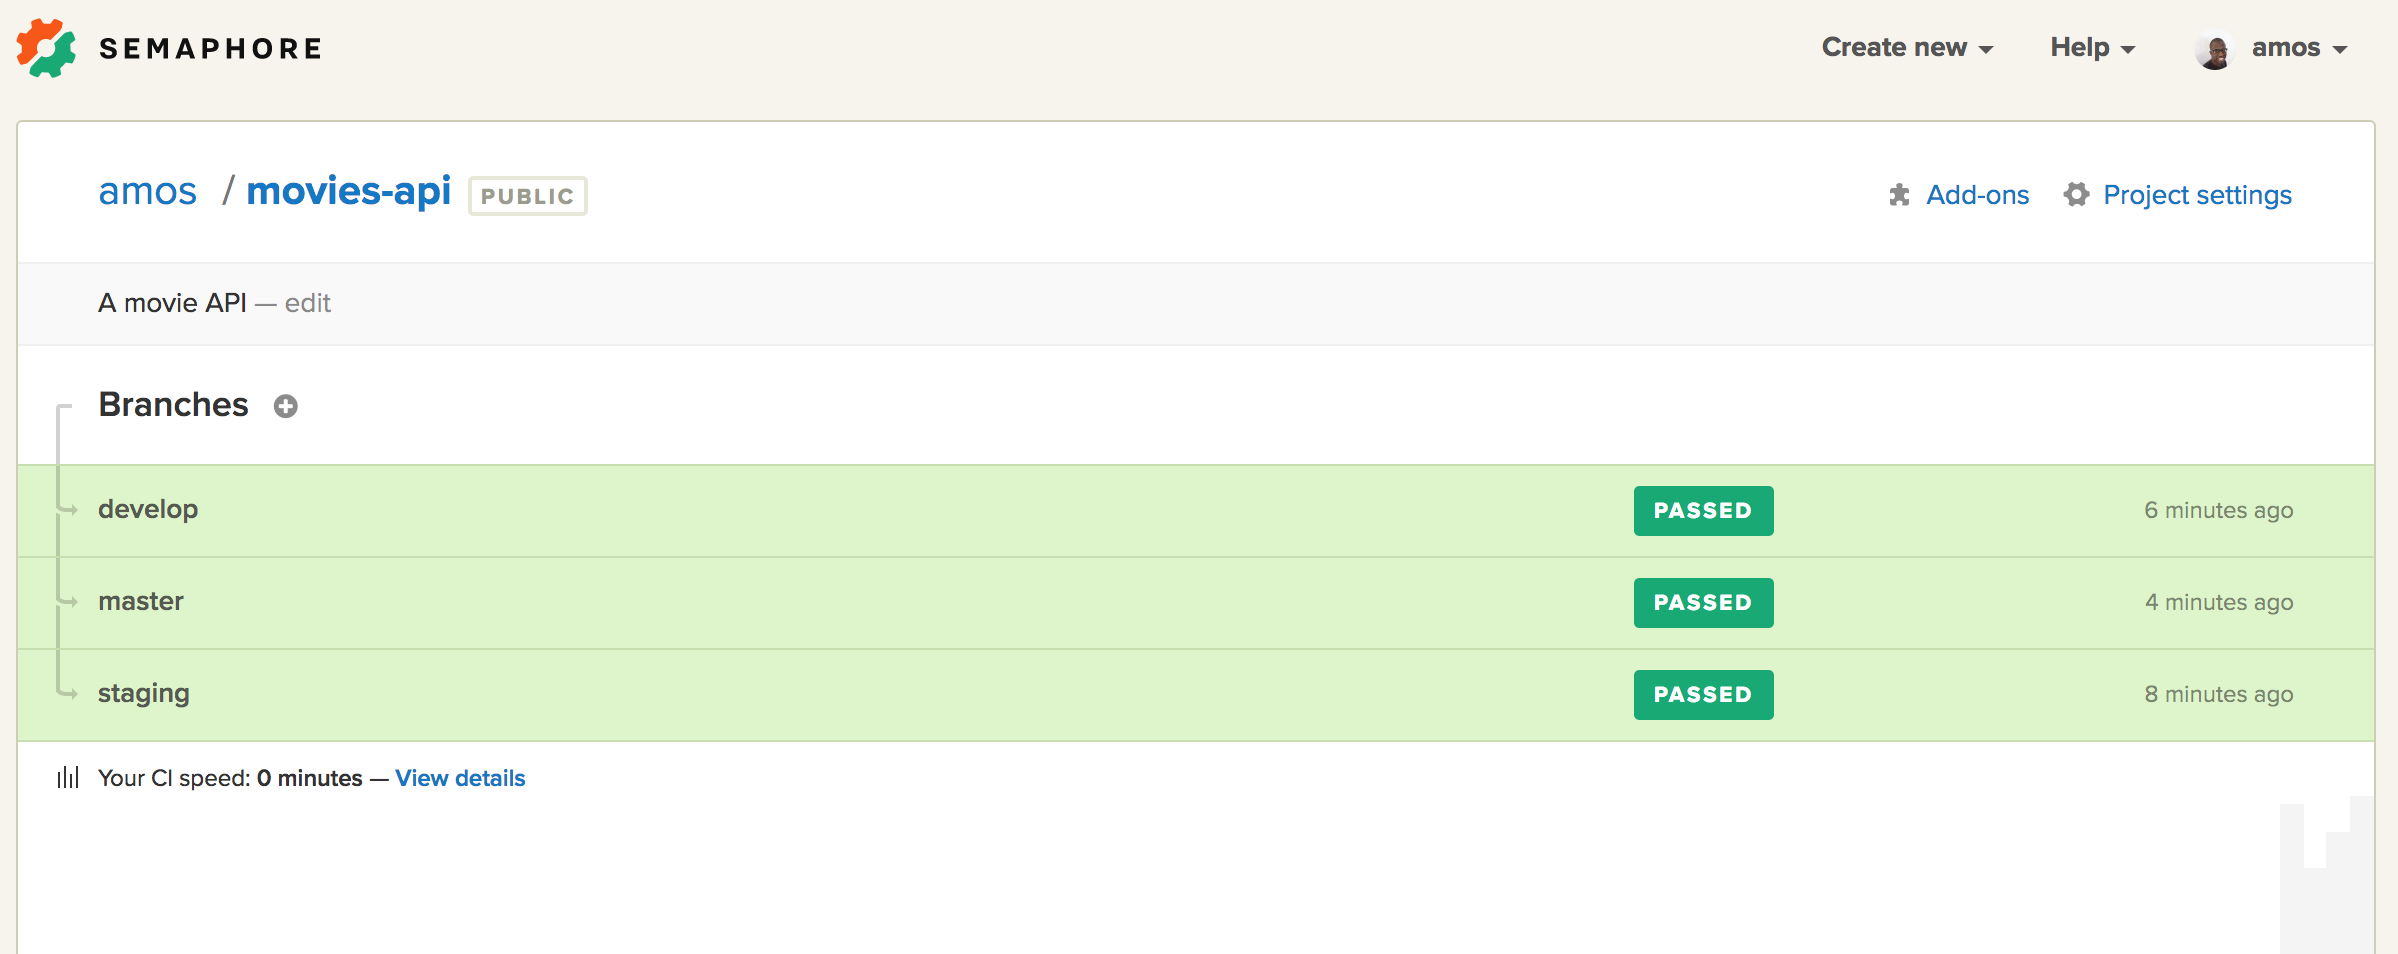
At this point, you should have the develop, staging and master branches with similar up to date code and no ft-api branch.
Go to your movies-api project page on Semaphore and click the + button to see a list of your available branches.
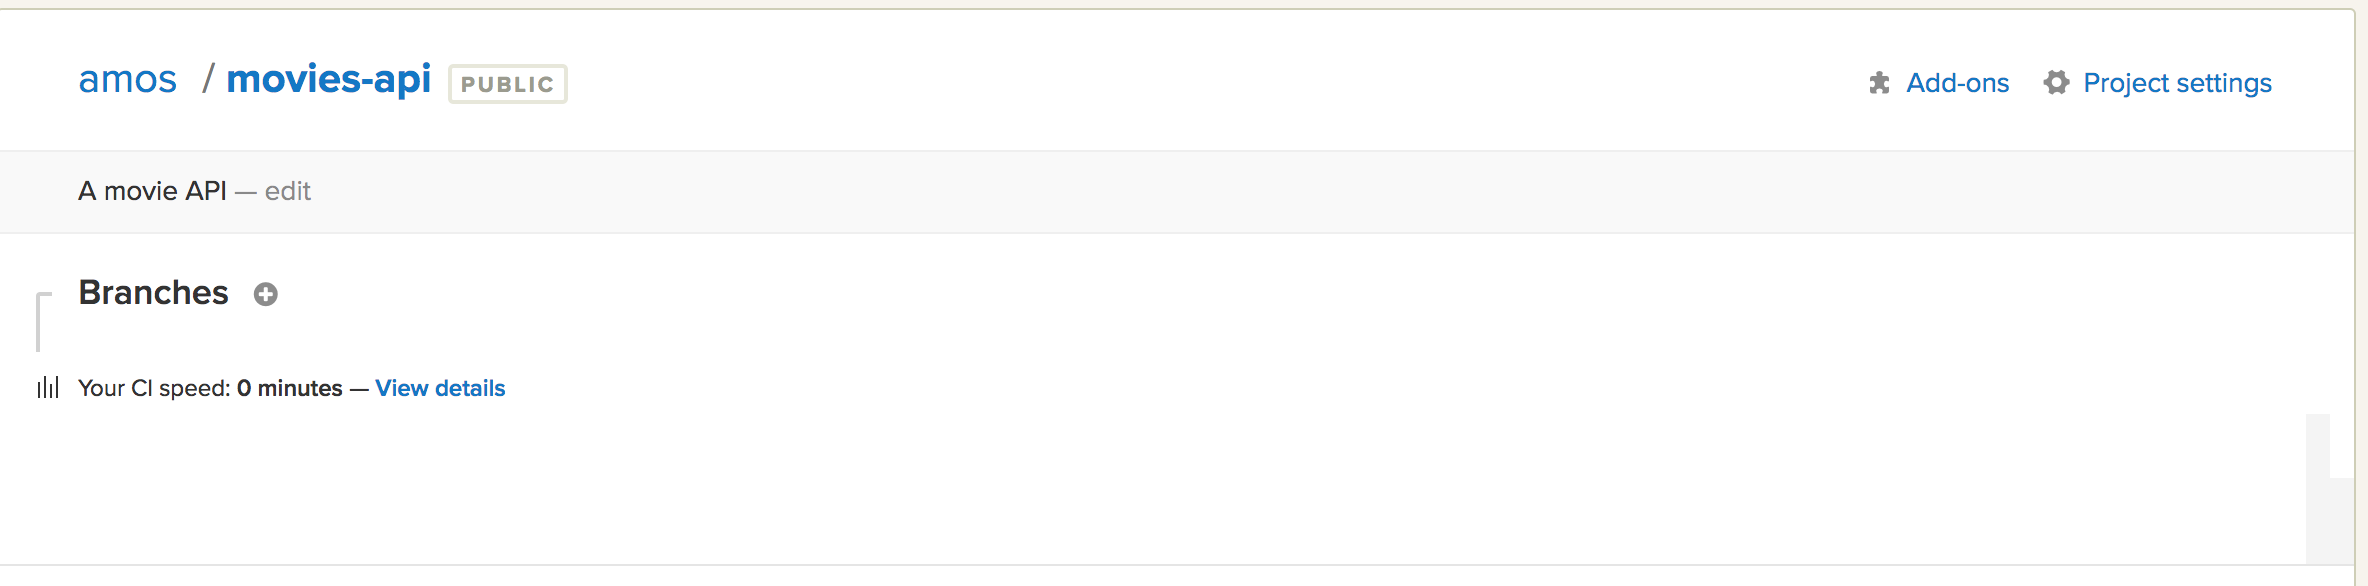
Then, select each and run builds for them.
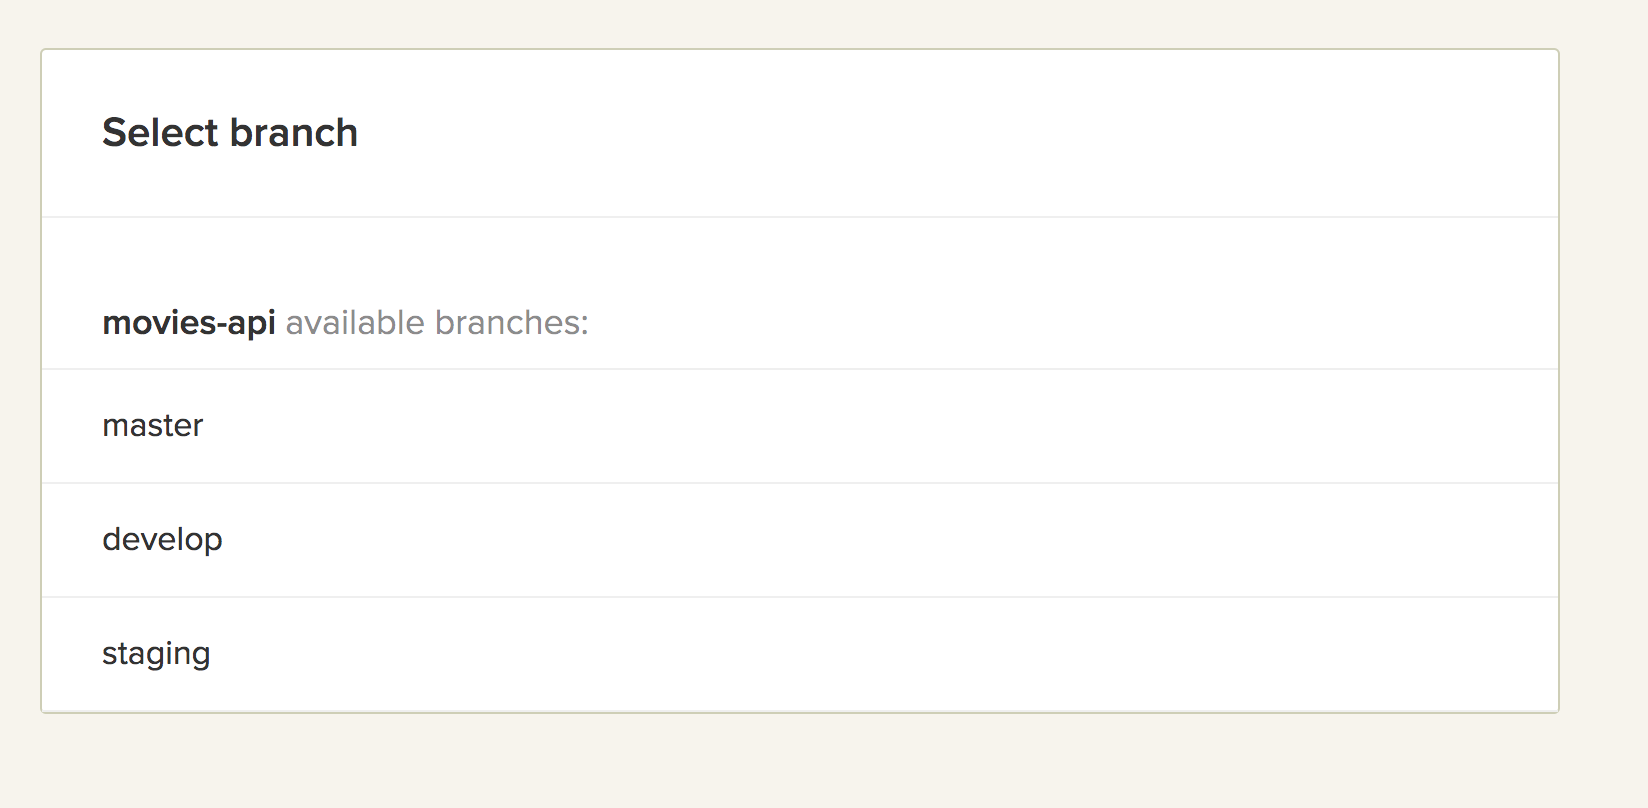
You should now have 3 successful builds for those branches.
Deploying to Heroku
Semaphore makes deploying to Heroku very simple. You can read a shorter guide on deploying to Heroku from Semaphore here.
First of all, create two applications in your Heroku account, one for staging and one for production (i.e movie-api-staging & movie-api-prod in our case).
Make sure to disable collectstatic by setting DISABLE_COLLECTSTATIC=1 in the config for both applications.

Things to note:
- You will have to choose different application names from the ones above.
- You will have to add the URLs for your two applications into
ALLOWED_HOSTSinsettings.py, so that Django will allow requests to those URLs.
Edit movies-api/movies/movies/settings.py:
# movies-api/movies/movies/settings.py

...
ALLOWED_HOSTS = ['your-staging-app.herokuapp.com', 'your-production-app.herokuapp.com']
Then, push your changes to Github and update your branches acccordingly.
From the movies-api page on your Semaphore account, click Set Up Deployment. 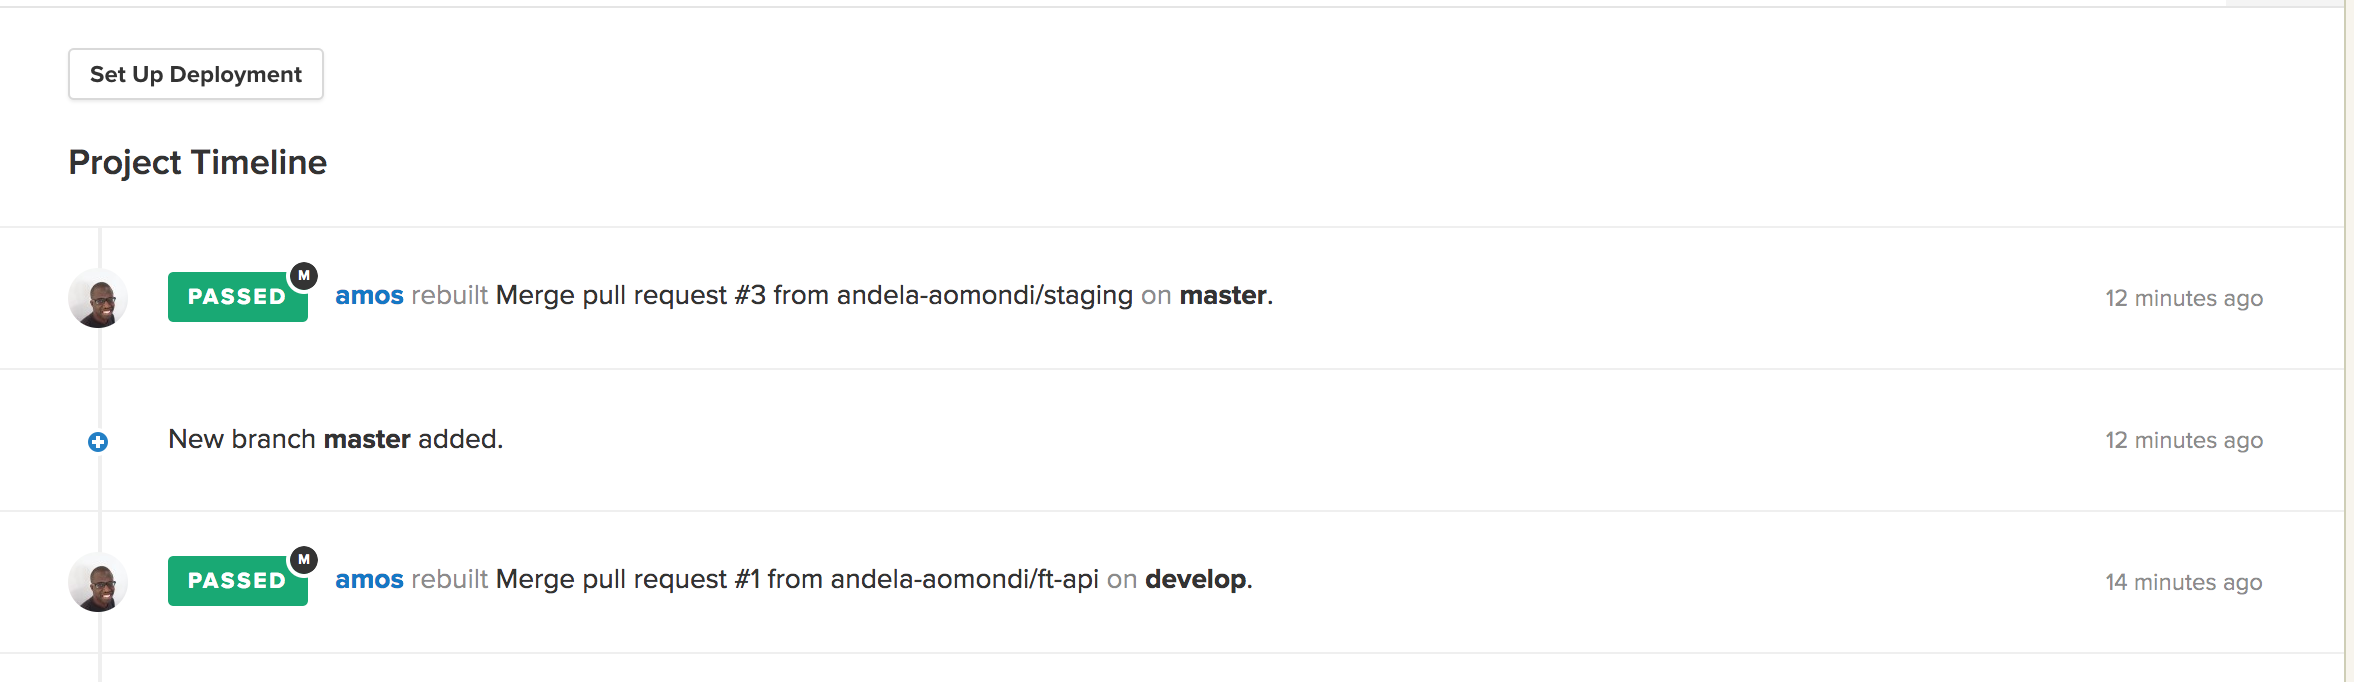
Select Heroku in the next screen. 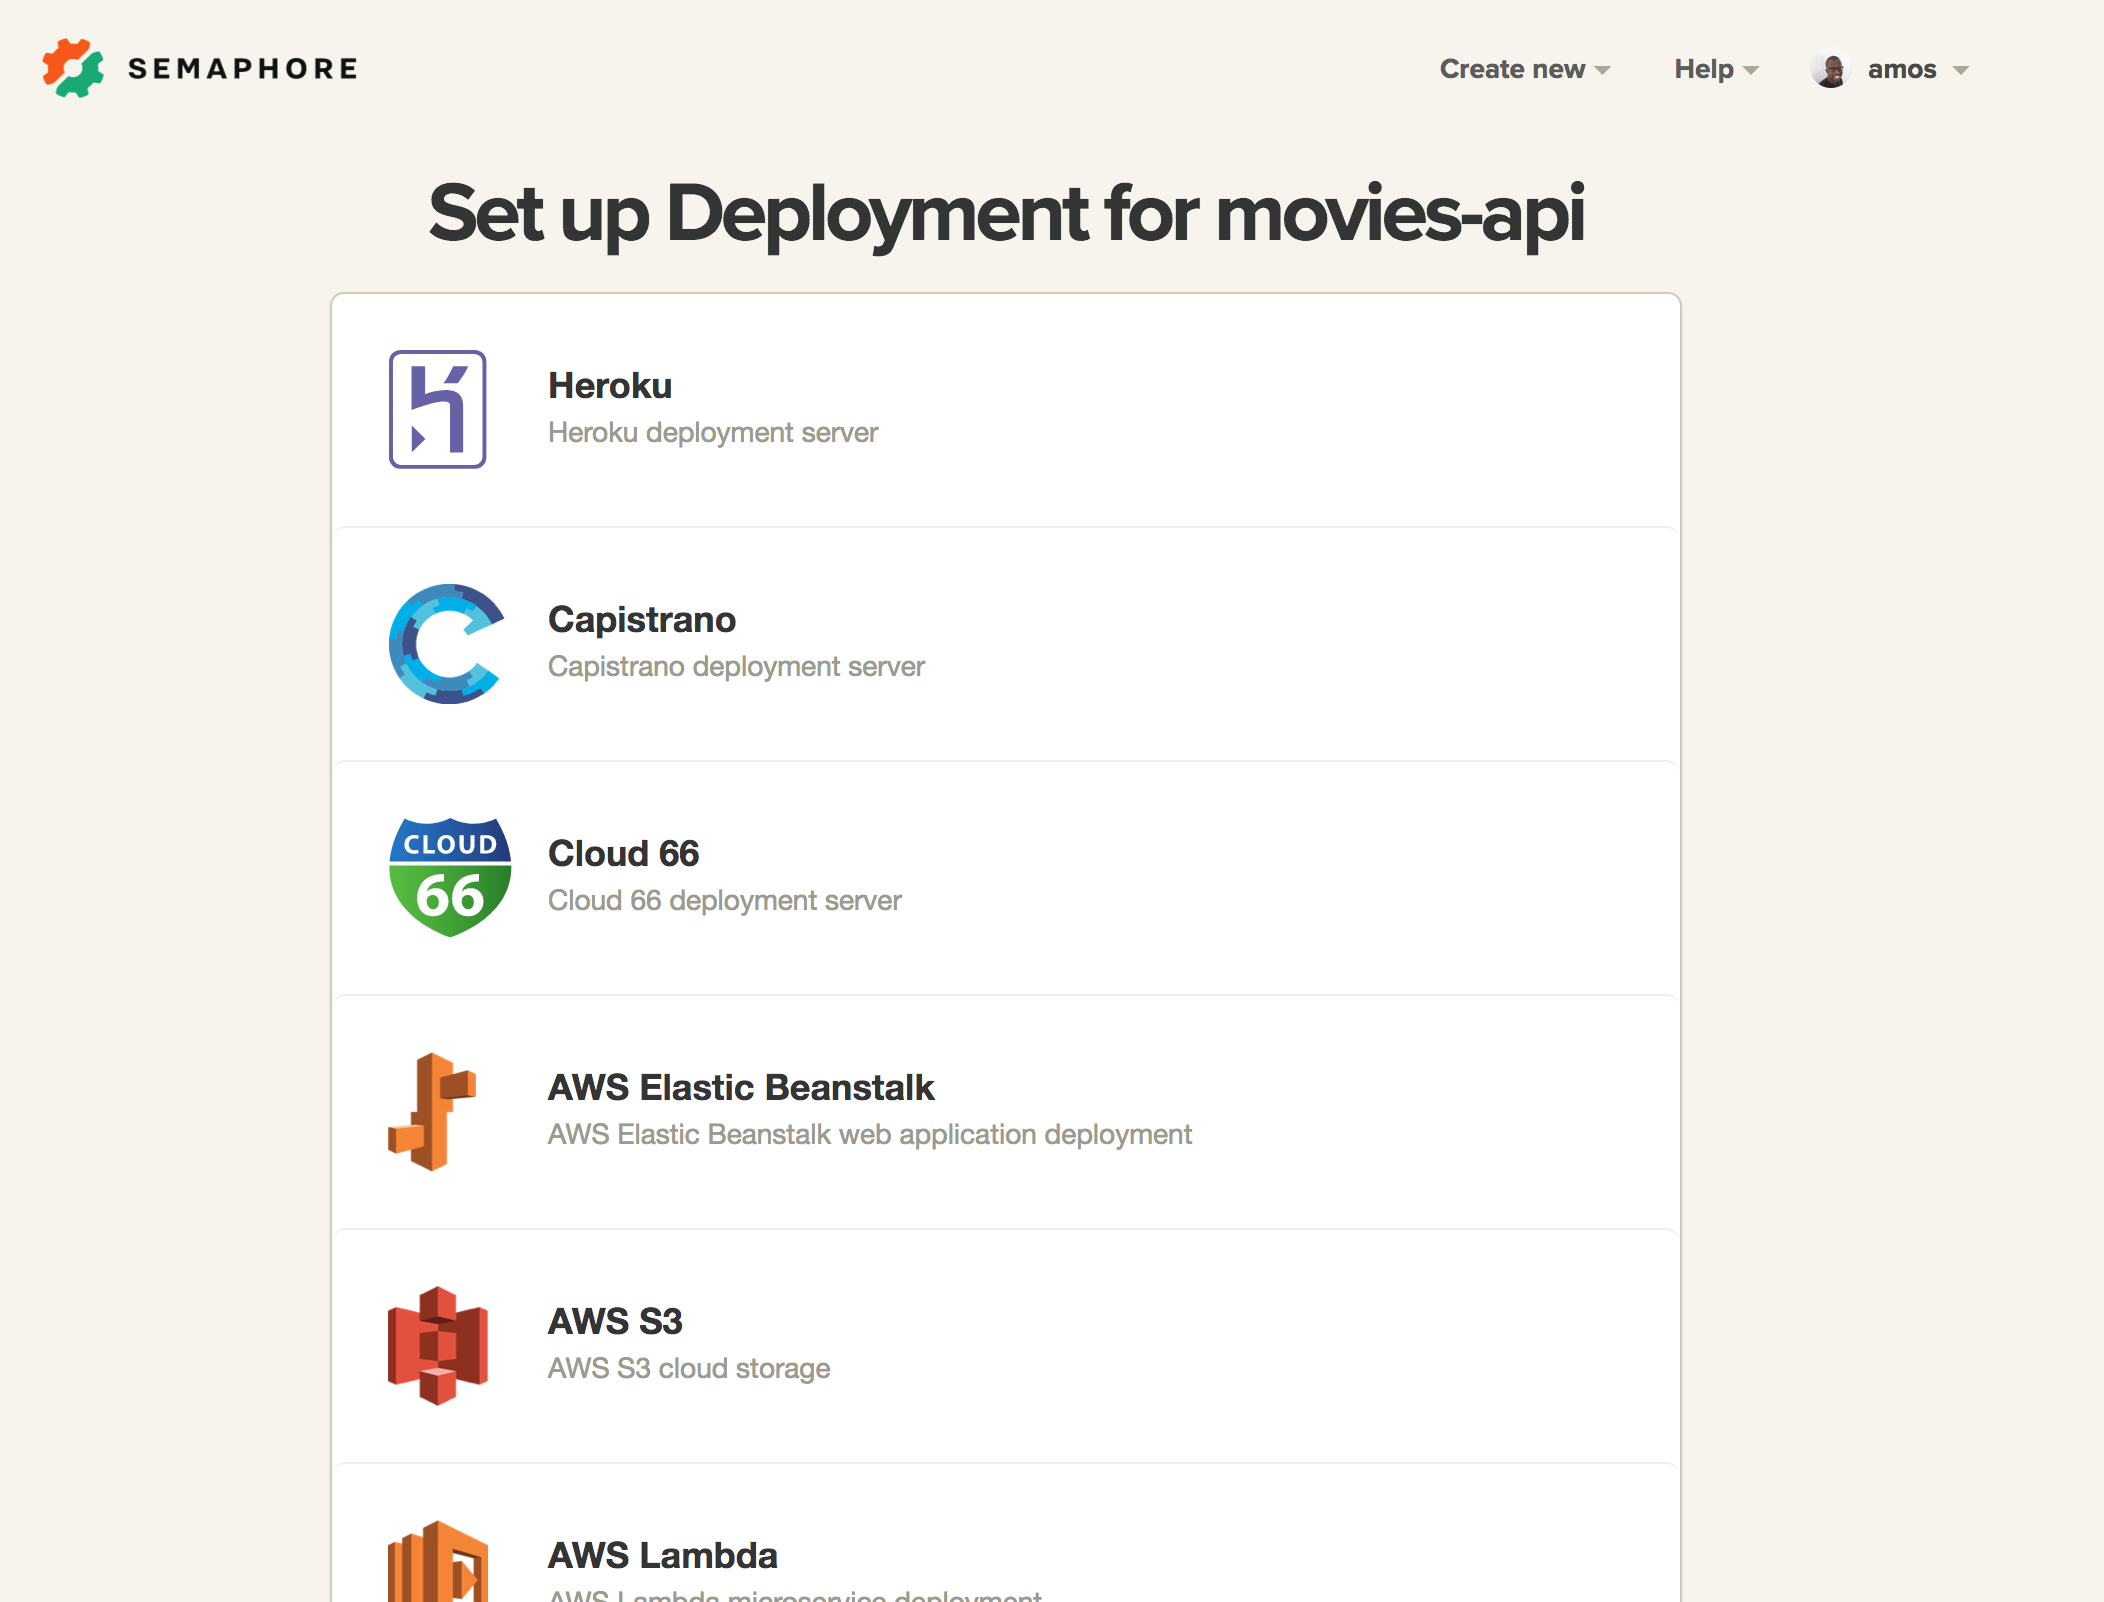
We will be going with the Automatic deployment option. 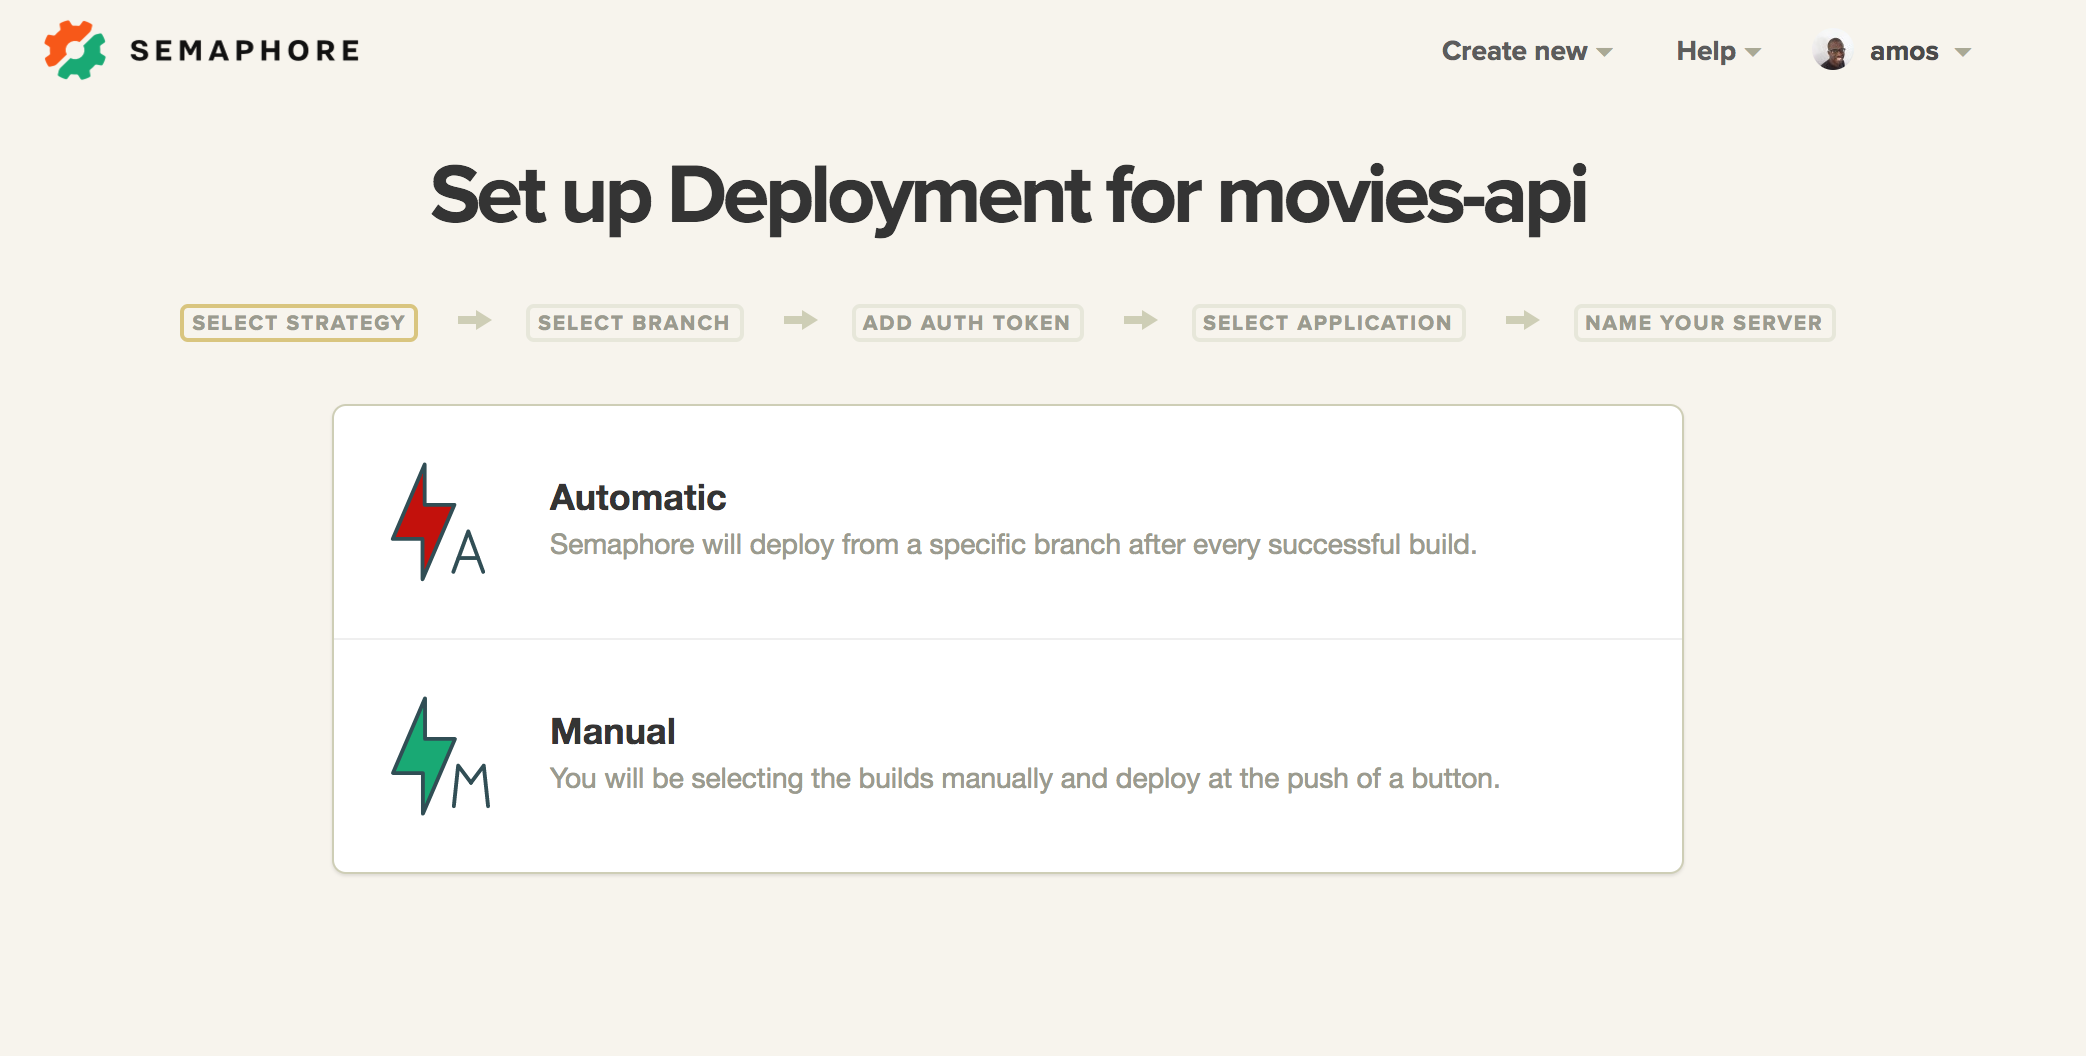
Next, let’s deploy the staging branch. 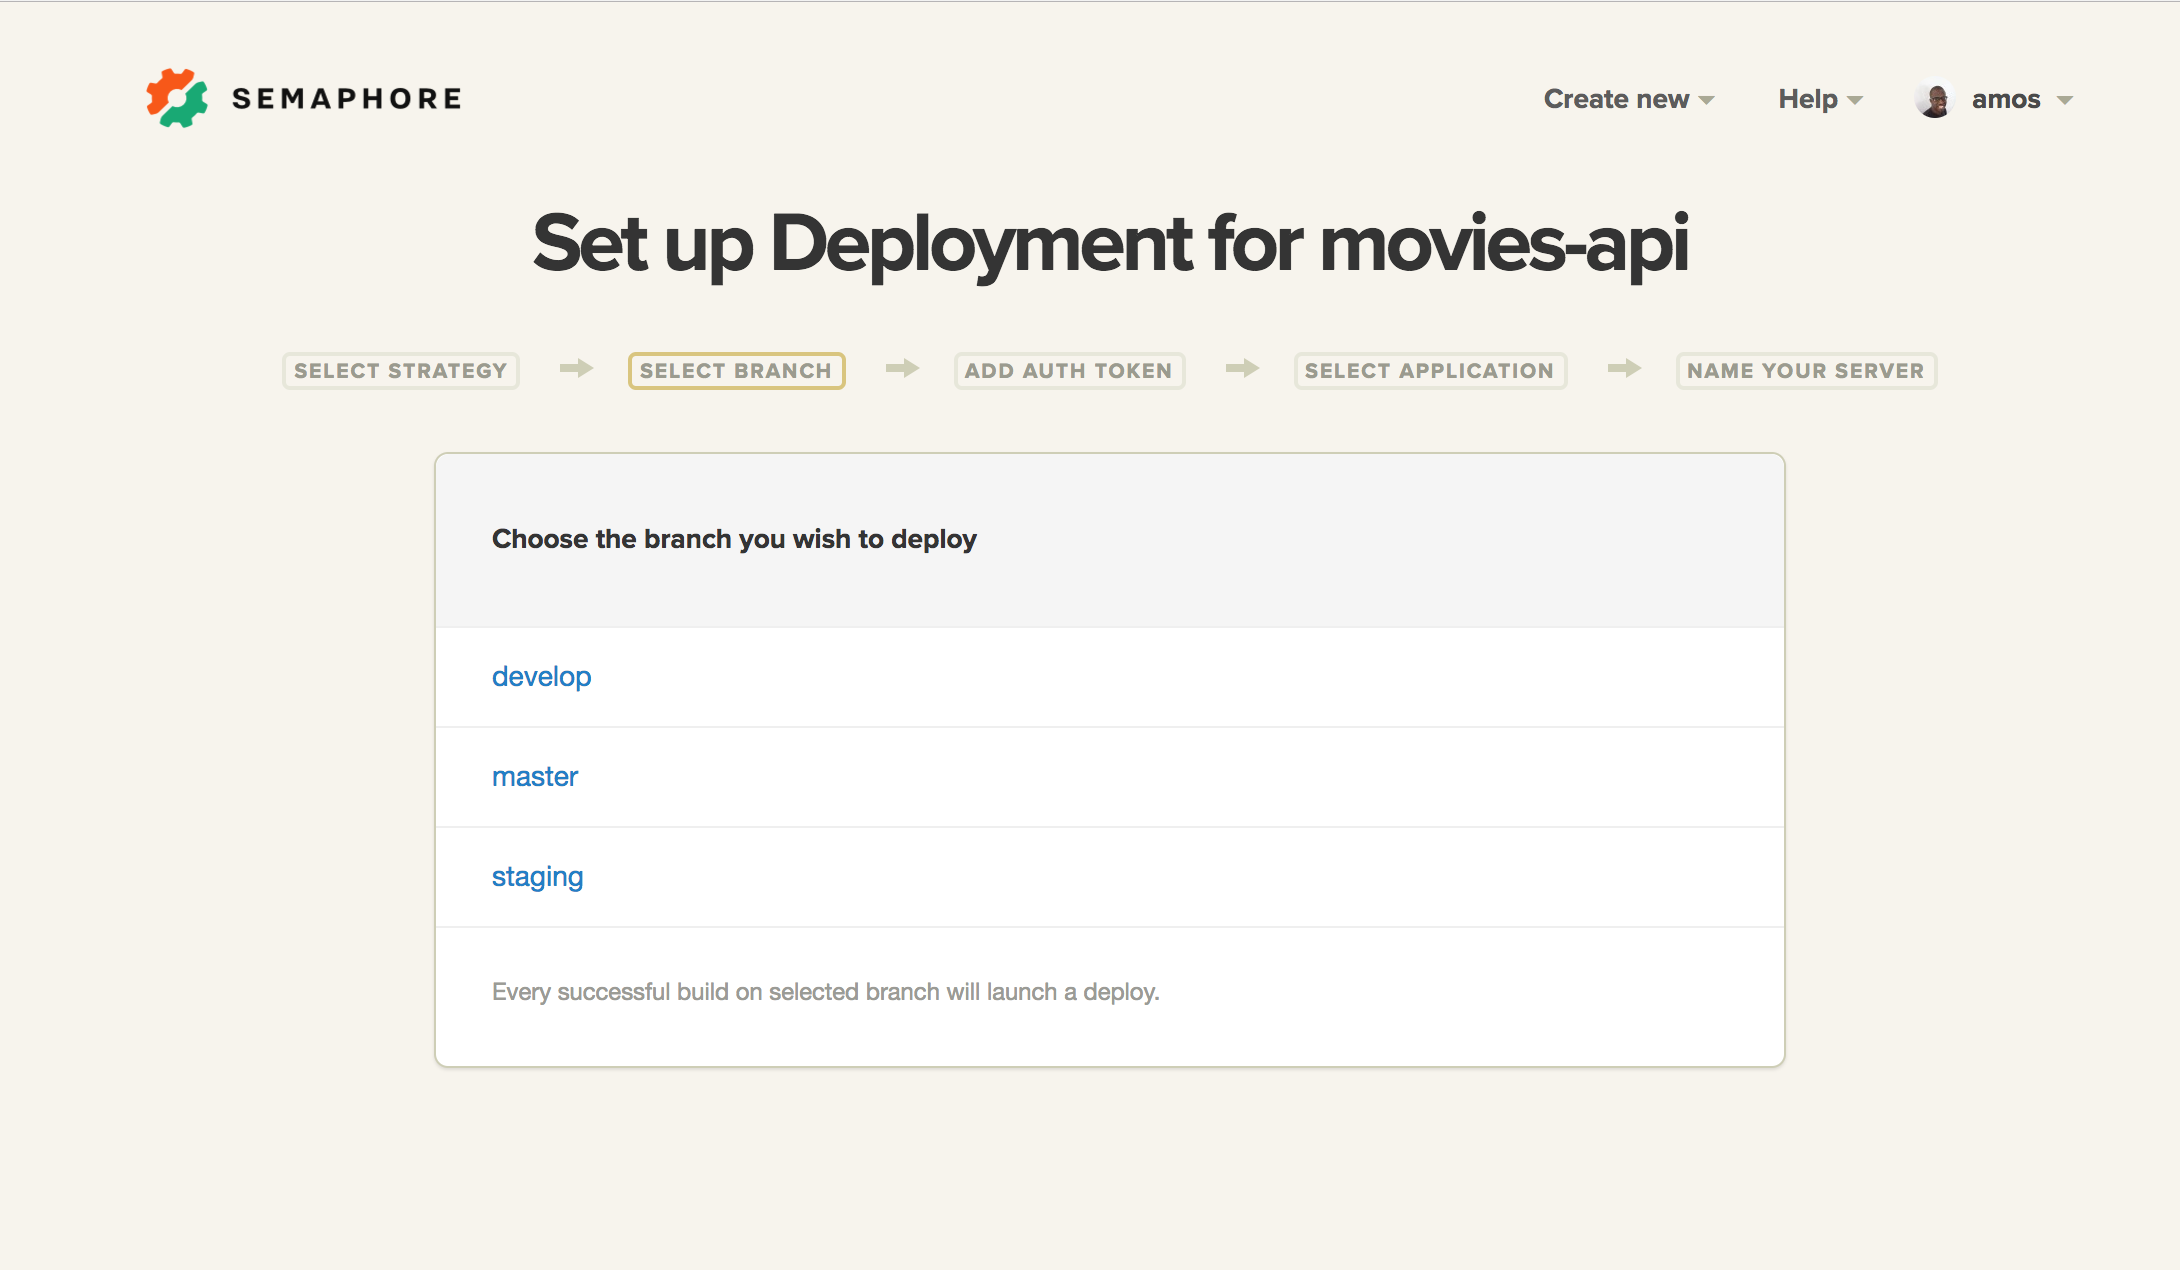
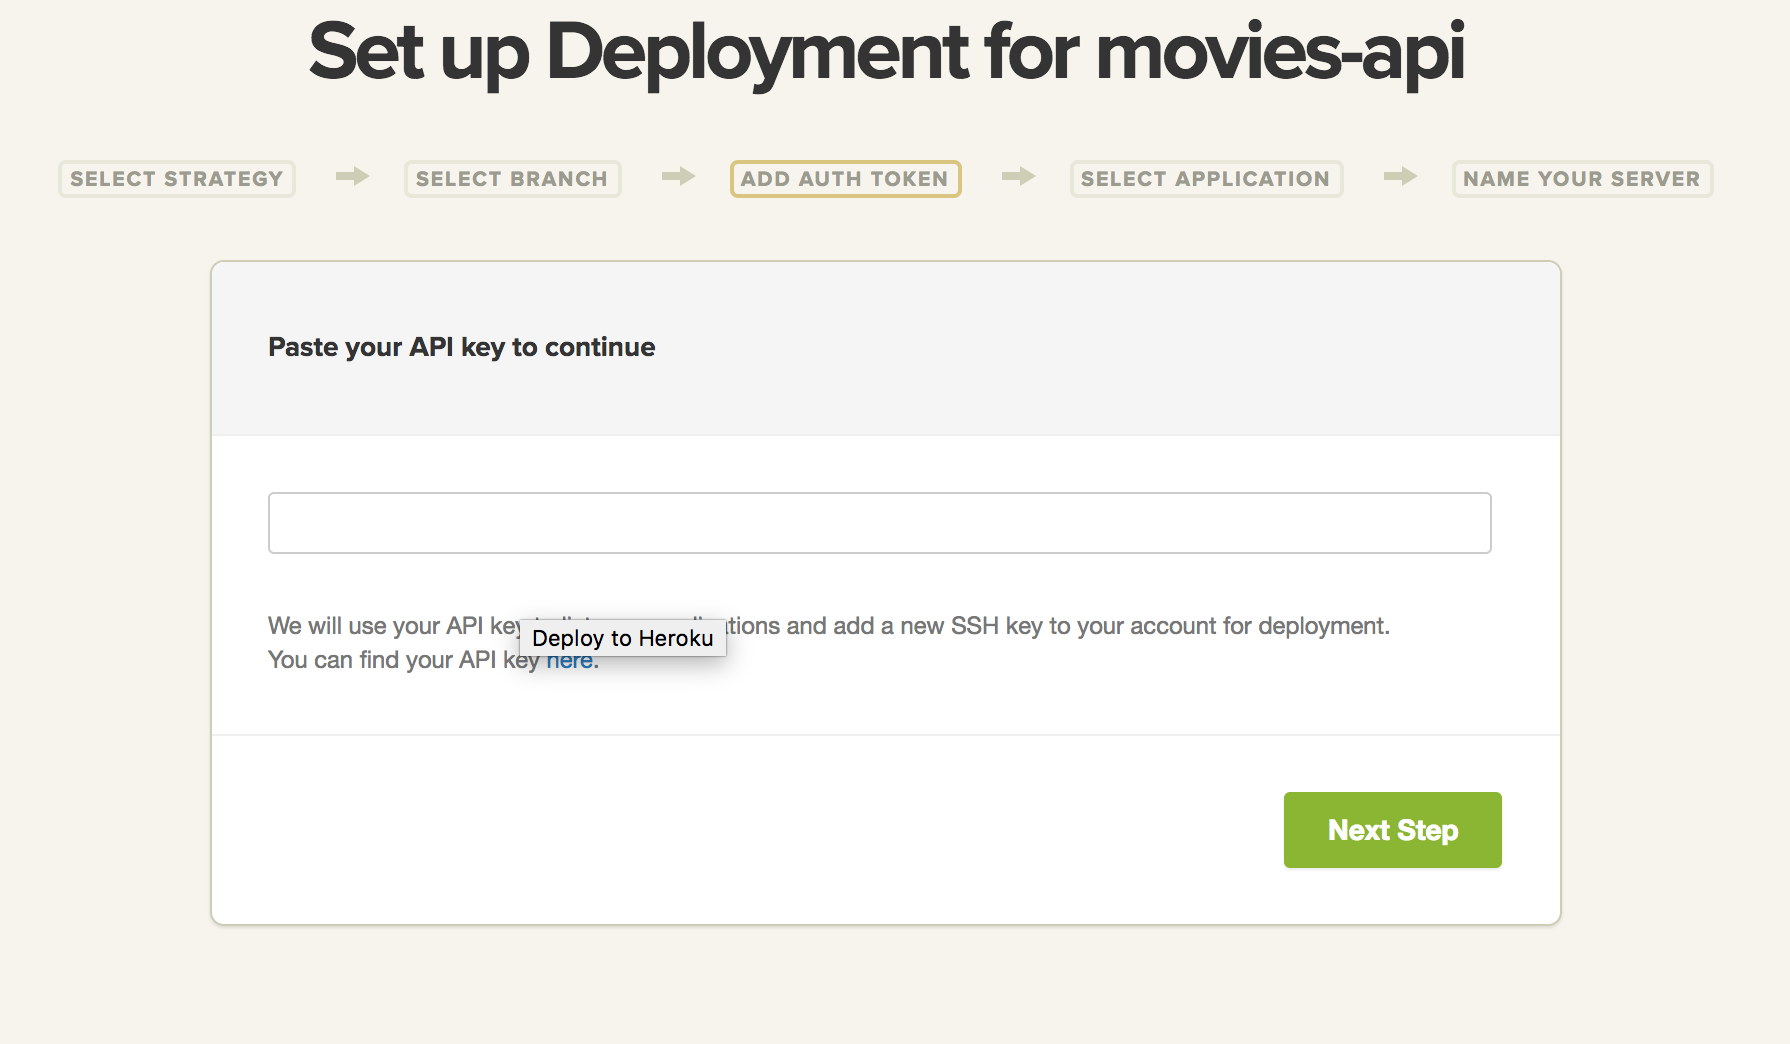
The next page needs your Heroku API key. You can find it under the account page in your Heroku account.
Once you have entered the API key, you will see a list of your available Heroku applications. We are deploying the staging version so select the application you created for staging.
After that, give your server a name and create it. 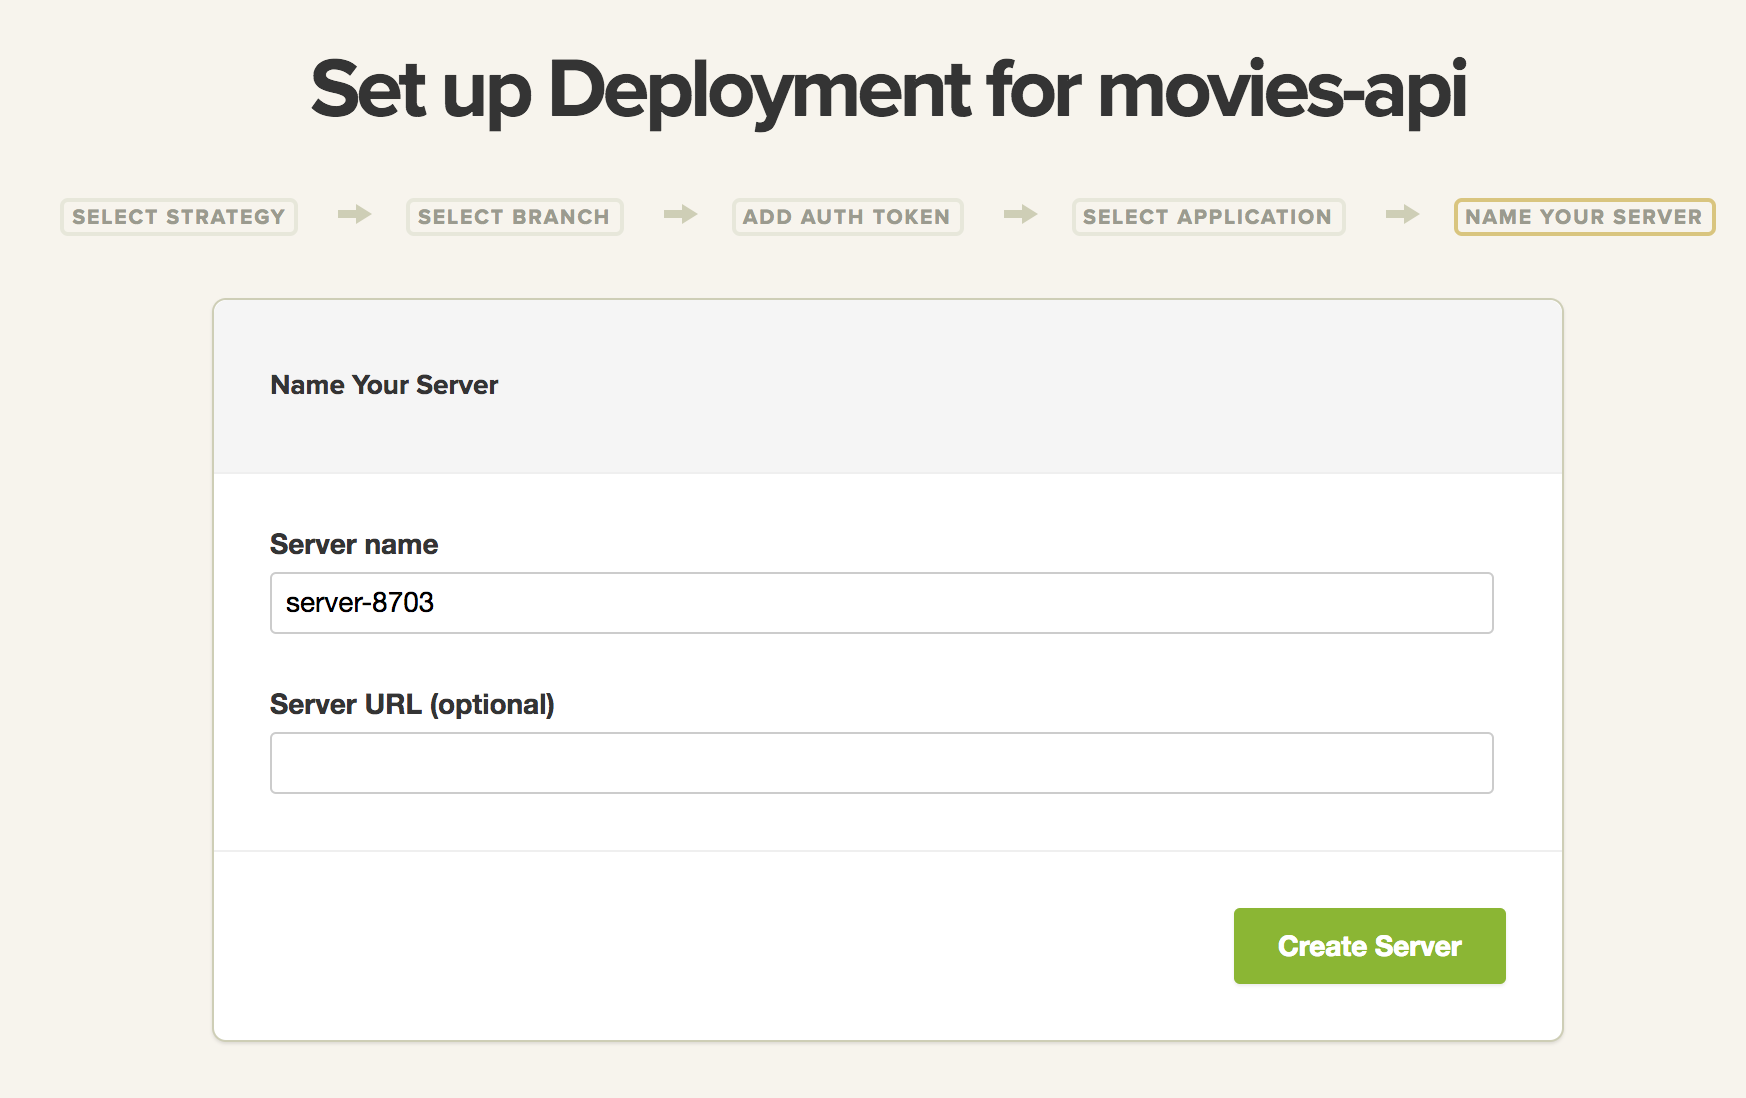
On the next page, click the Edit Server button. Make sure to edit the server deploy commands to look like the following before deploying:
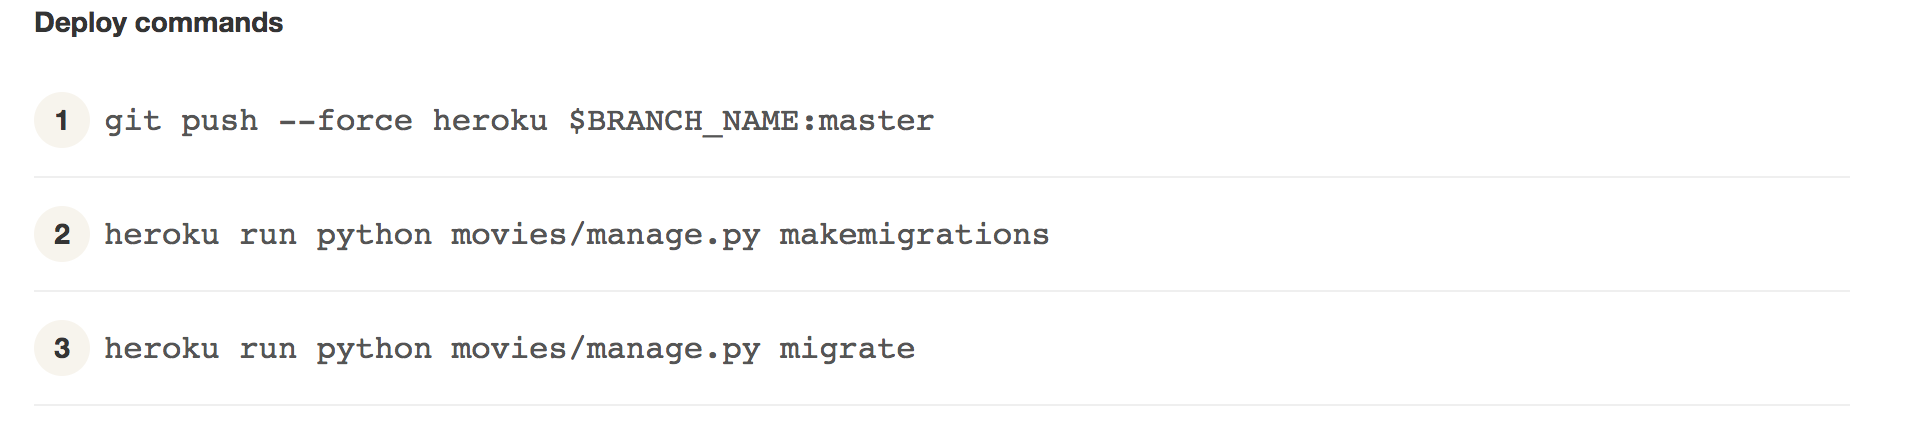
Your staging application should now be deployed to your-staging-app-name.herokuapp.com.
On your movies-api project page, you can see the staging server was deployed.

Click on the + to add a new server for production, and then follow the same procedure to deploy the master branch to your production application.
Working with Heroku Pipeline and Review App
Go to your Heroku account and create a new Pipeline. Then, attach the Github repo for movies-api to it.
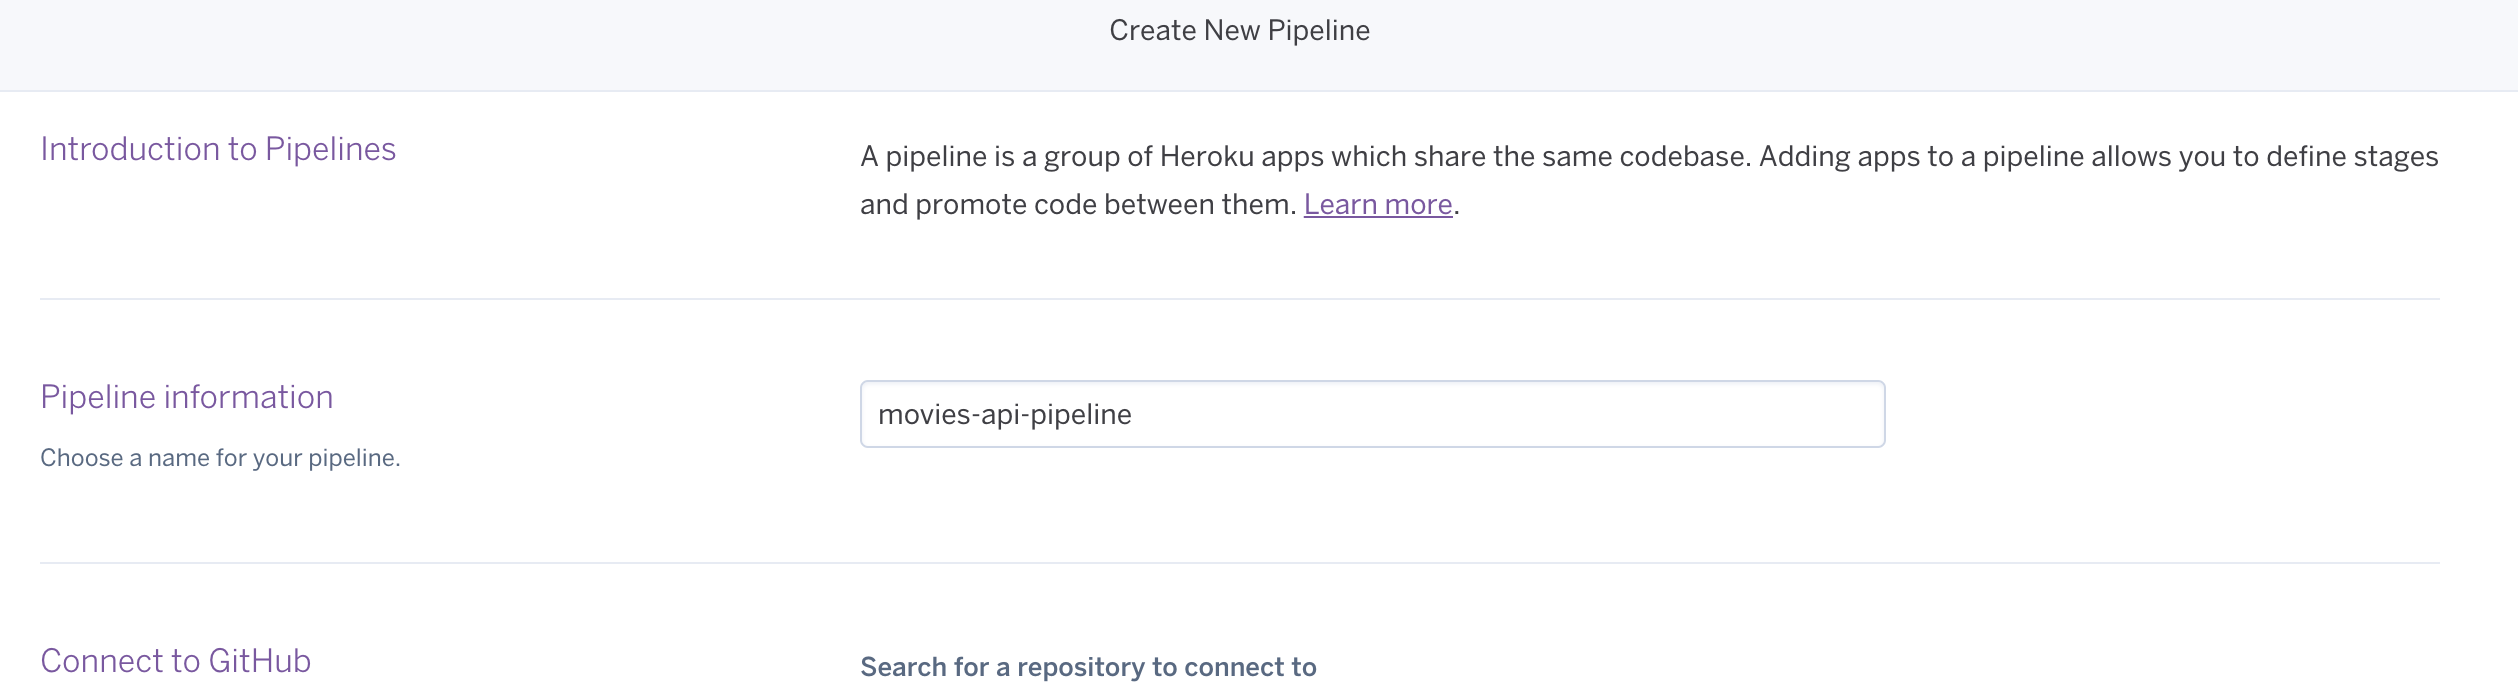
Once you’ve attached the correct Github repo, click Create Pipeline.
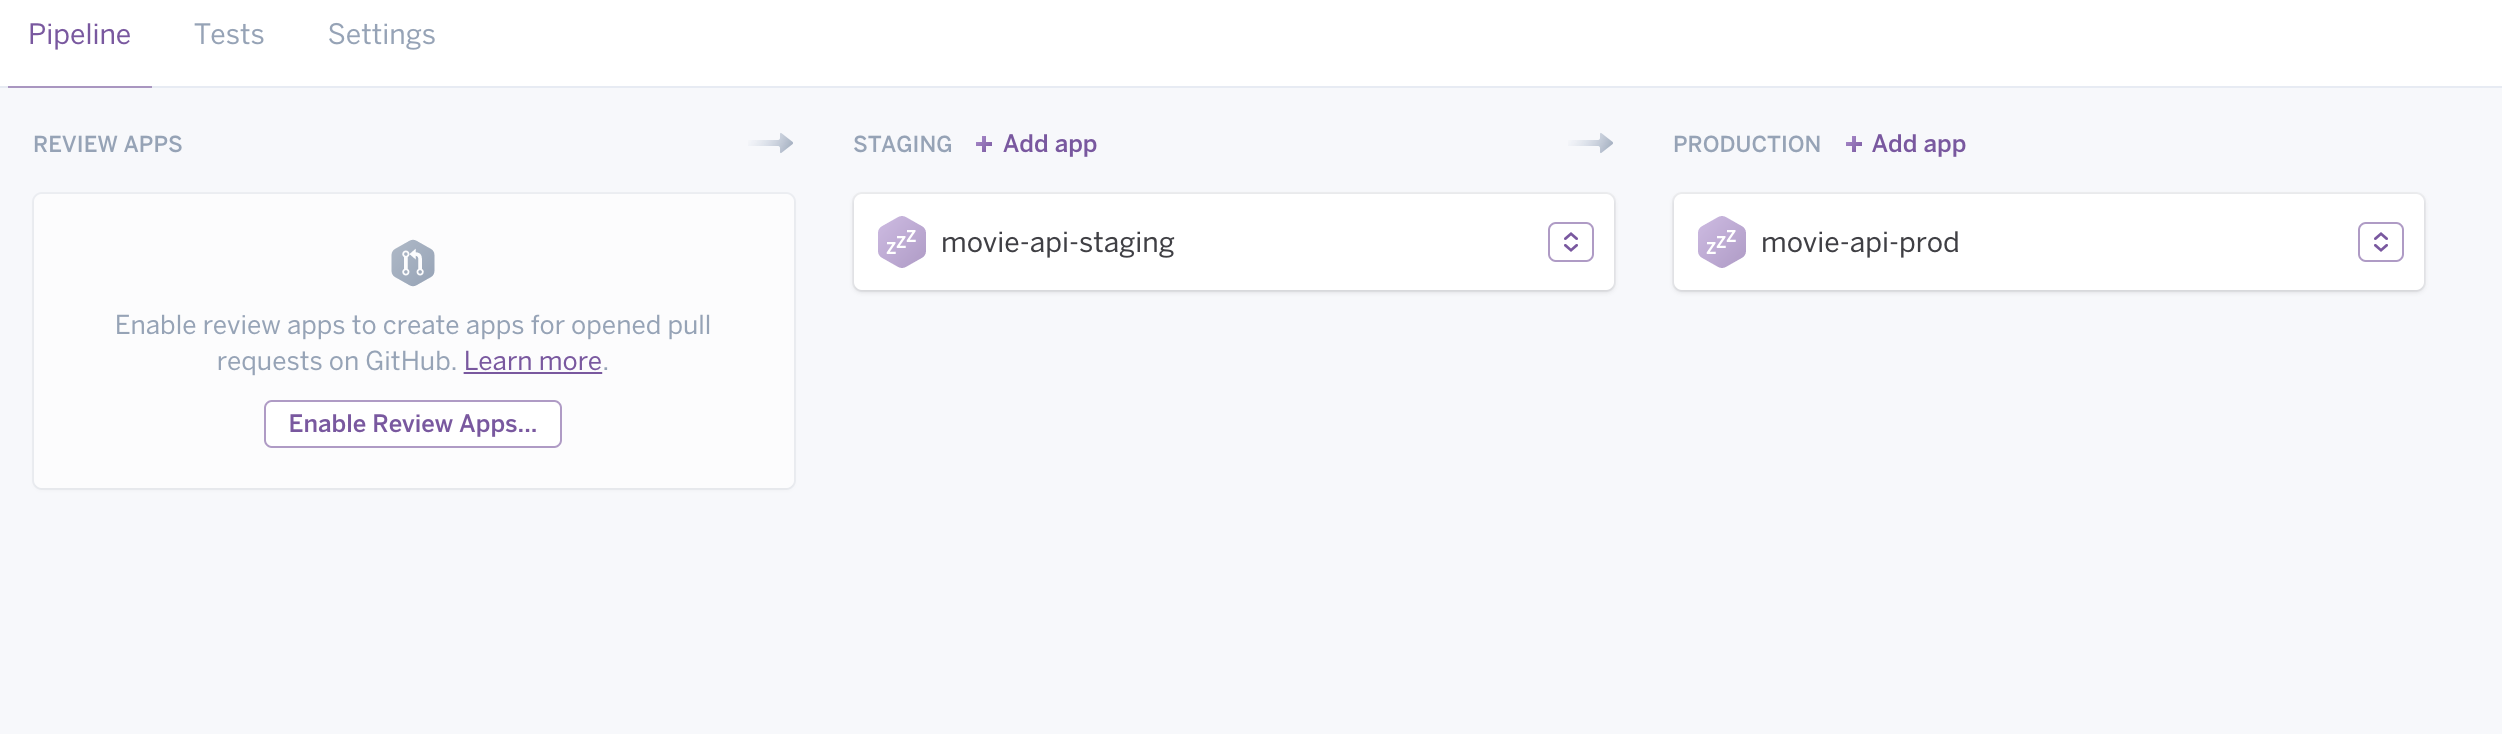
In the next page, add the staging application you created to the staging section and the existing production application to the production section.
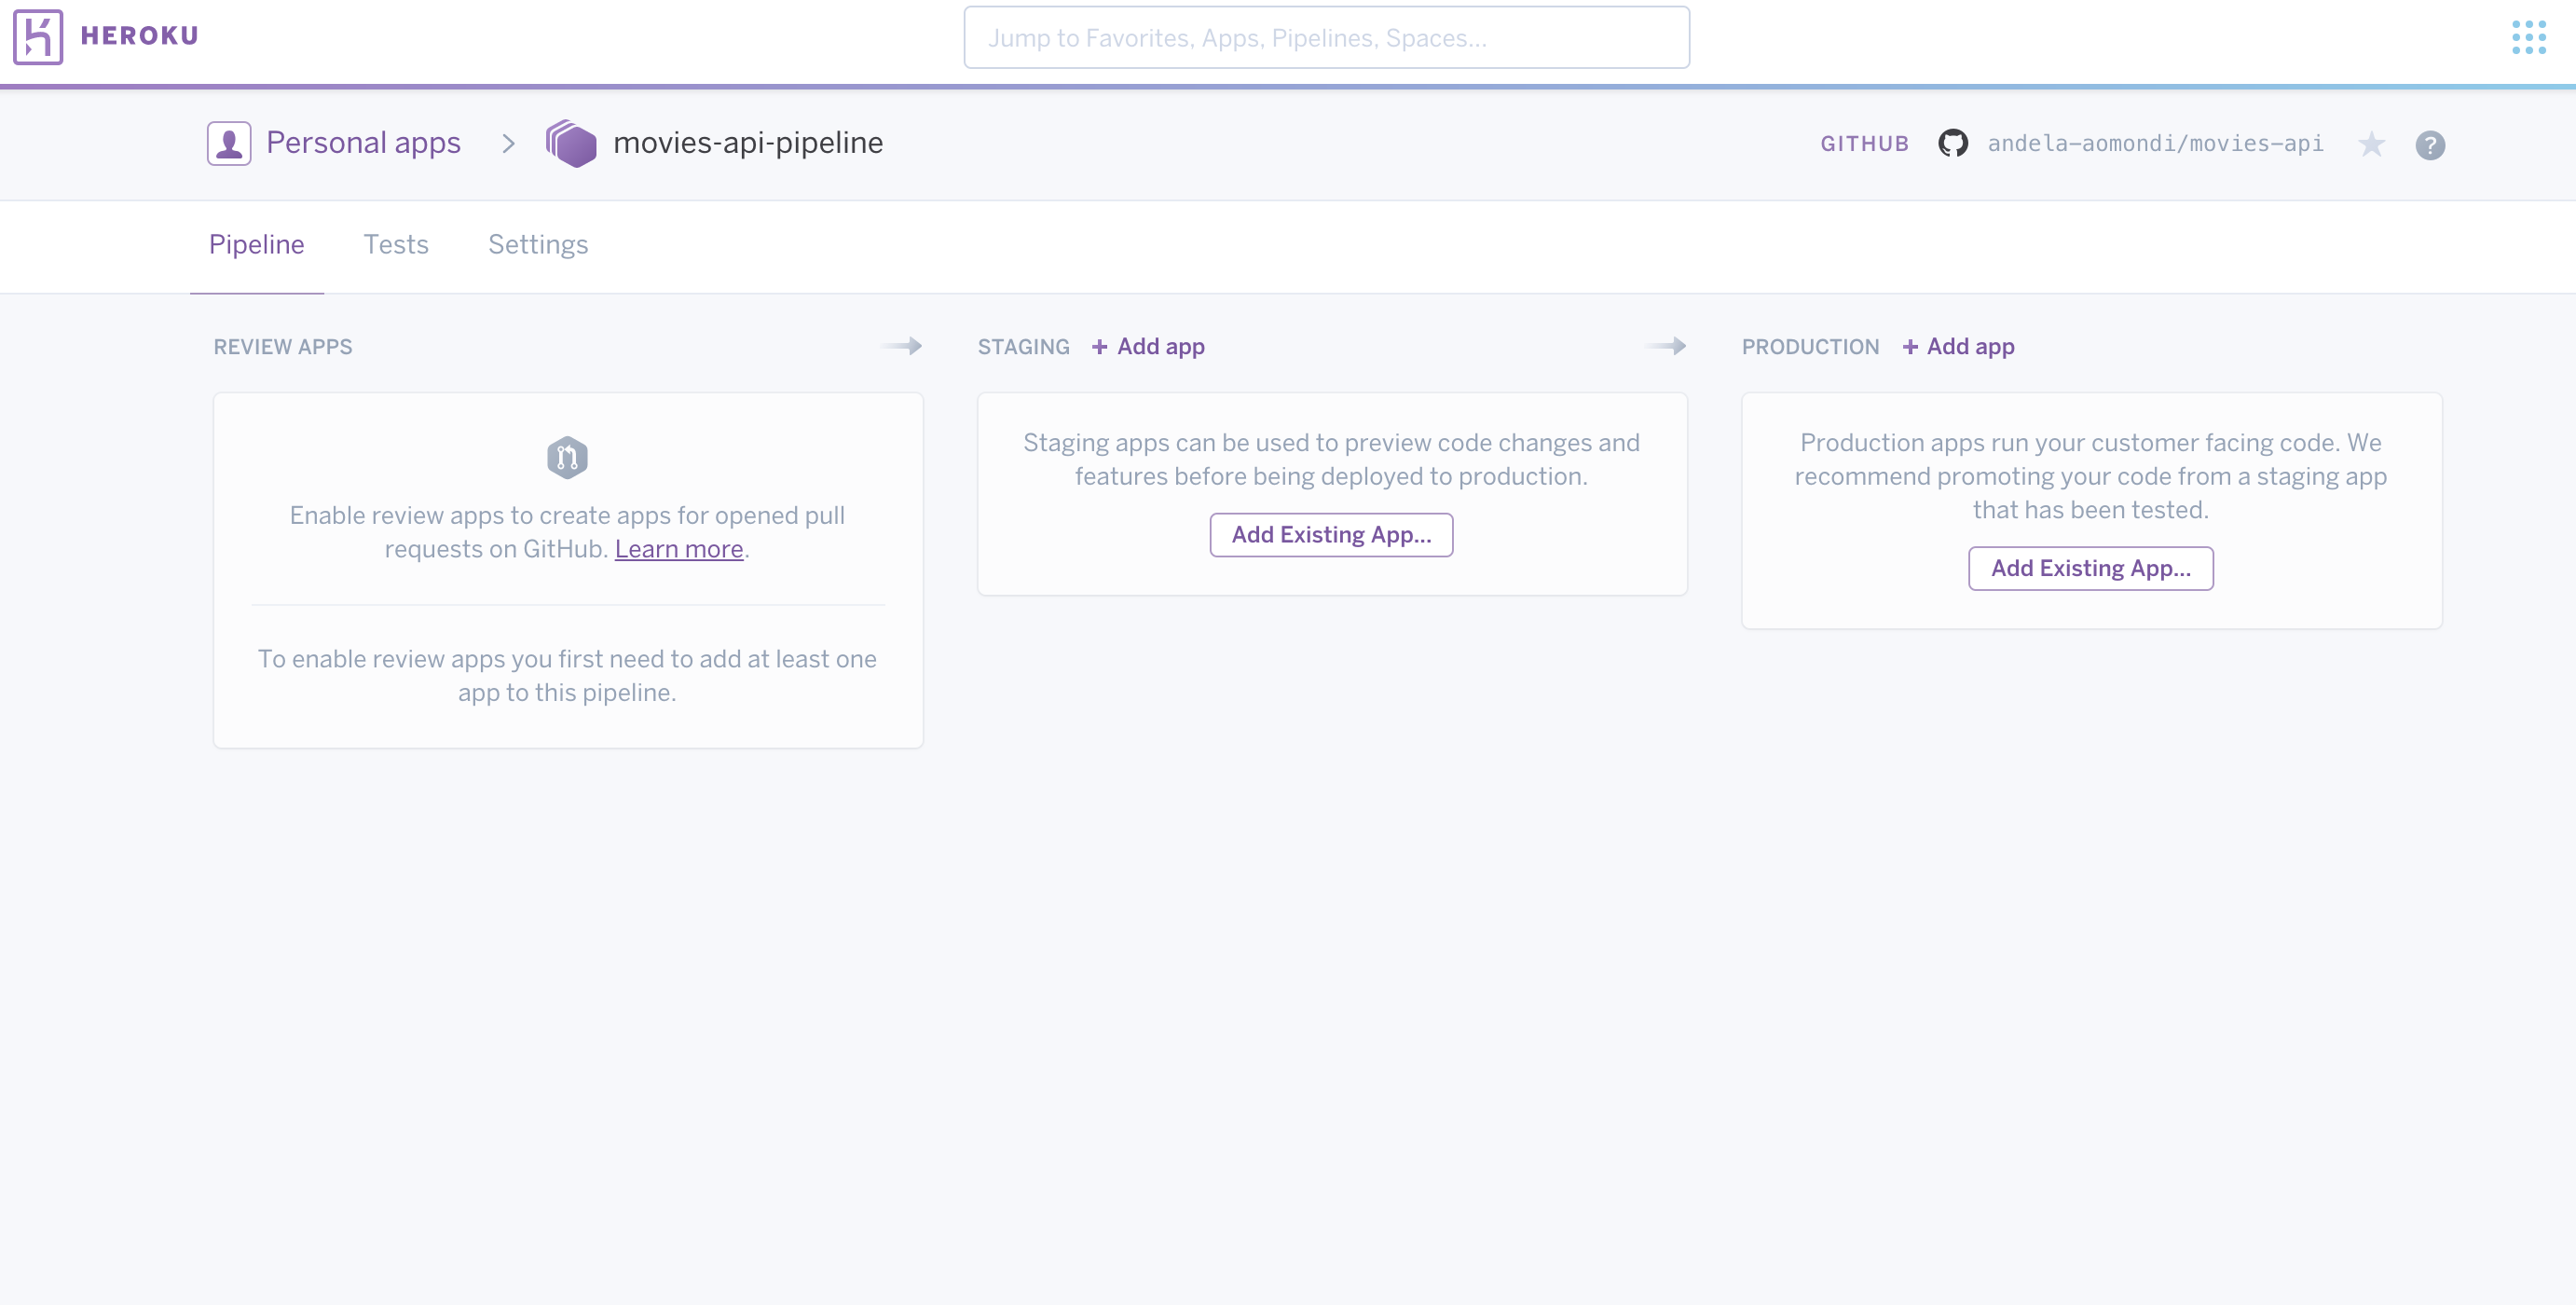
Next, enable Review Apps by clicking the Enable Review Apps... button.
We are going to use the staging application as the parent, i.e config variables from the staging application will be used for Review Apps.
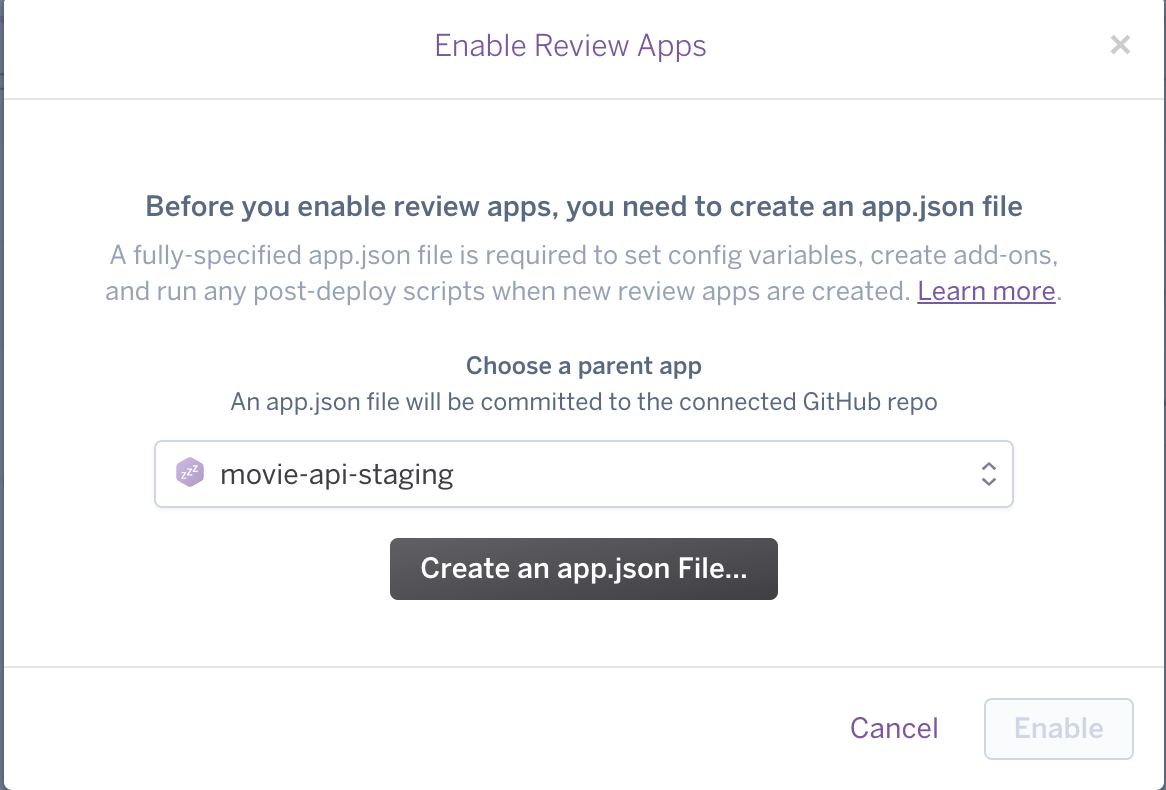
The next page contains the configuration options for defining the app.json file that will specify how the review application is to be created.
You can leave it as is and click Commit to Repo to have it committed to Github.
Finally, you can enable review apps to create new apps automatically for every PR or destroy them automatically when they become stale.
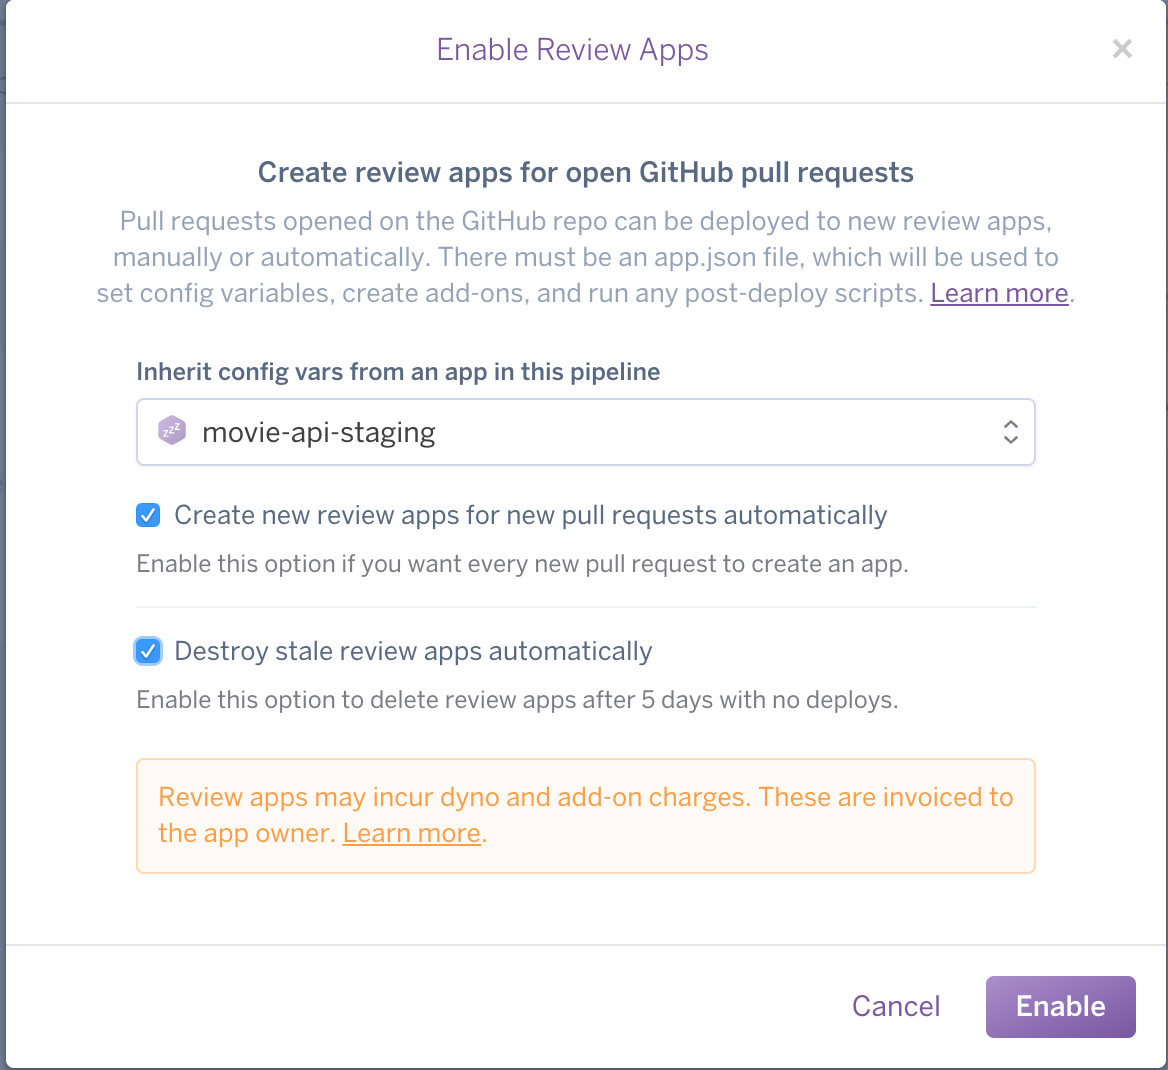
From now on, every PR to staging will spin up a review application automatically. The pipeline will easily enable promoting applications from review to staging, and to production.
Conclusion
In this tutorial, we covered how to write a Django and Django Rest Framework API, and how to test it.
We also covered how to use Semaphore to run Django tests and continuously deploy an application to Heroku.
Feel free to leave any comments or questions you may have in the comment section below.