The practice of continuous delivery is steadily gaining ground in the PHP community. It is no wonder: continuous integration keeps your development risk-free by automatically testing every new version of the code, while continuous deployment helps you ship working code faster by automatically deploying working versions of your application to your users. All together, these practices allow you to focus on the code and deliver your product safely without hassle.
With PHP being supported on both Semaphore and Heroku, you can set up a continuous delivery pipeline for your web application in a matter of minutes.
In this post we will see how to set up continuous integration and deployment for a simple Laravel web application through Semaphore. You can find the application’s source code [on GitHub] (https://github.com/ervinb/laravel-base-app).
Requirements
- Heroku Toolbelt for using the Heroku CLI
- A recent version of PHP
Creating the application on Heroku
You can create a new application on Heroku either on their web interface or from the command line.
Deploying a Laravel project to Heroku has some requirements which need to be met in the instance where we plan deploy our code. The most straightforward way of preparing a Heroku instance to support our application is through so called buildpacks. Buildpacks are essentially scripts, which install the required software in the instance. For example, support for languages like Ruby, PHP and others is achieved by default buildpacks provided by Heroku.
To support the Laravel framework, we’ll use a custom build pack. Create a new instance from the command line. One thing to note is that you will have to replace the name php-cogs with something else, to avoid the error caused by a duplicate name.
$ heroku login
Enter your Heroku credentials.
Email: ervin+heroku@renderedtext.com
Password (typing will be hidden):
Two-factor code: 697652
Authentication successful.

$ heroku create php-cogs --buildpack https://github.com/winglian/heroku-buildpack-php
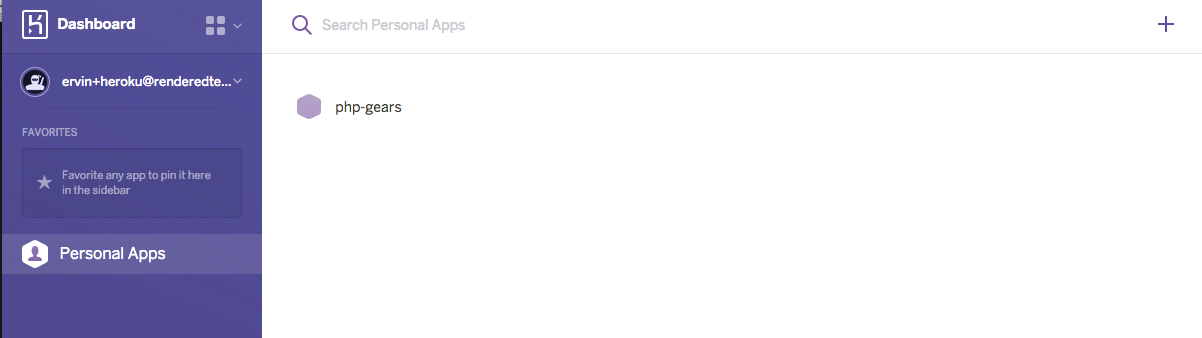
This installs all the needed dependencies which are required to properly run a Laravel application. The newly created application will be listed on your Heroku dashboard.
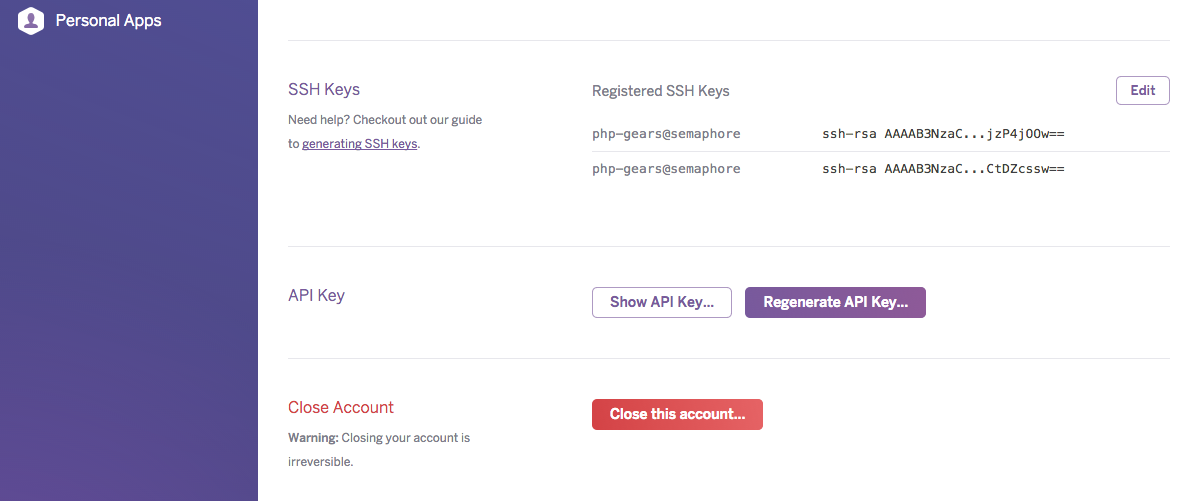
Next, copy your Heroku API key from account settings and store it for later. Semaphore will use this key to deploy your application to the instance you’ve created earlier.
Setting up continuous integration from GitHub to Semaphore
Sign up for a Semaphore account and connect with GitHub.
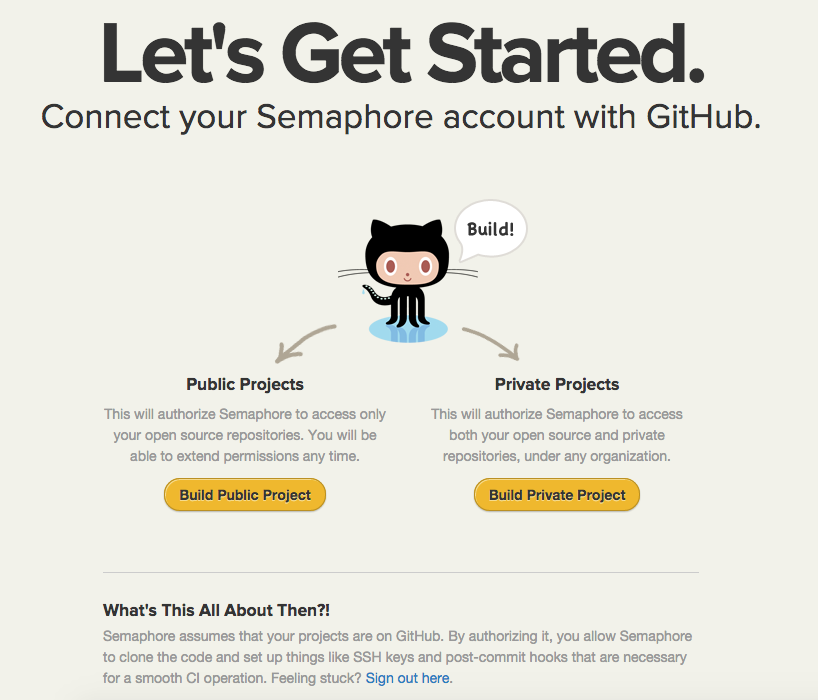
Feel free to fork the repository beforehand and use it to follow along. The project is open source, so we will select “Build Public Project” which grants Semaphore access to all the public projects from my linked GitHub account.
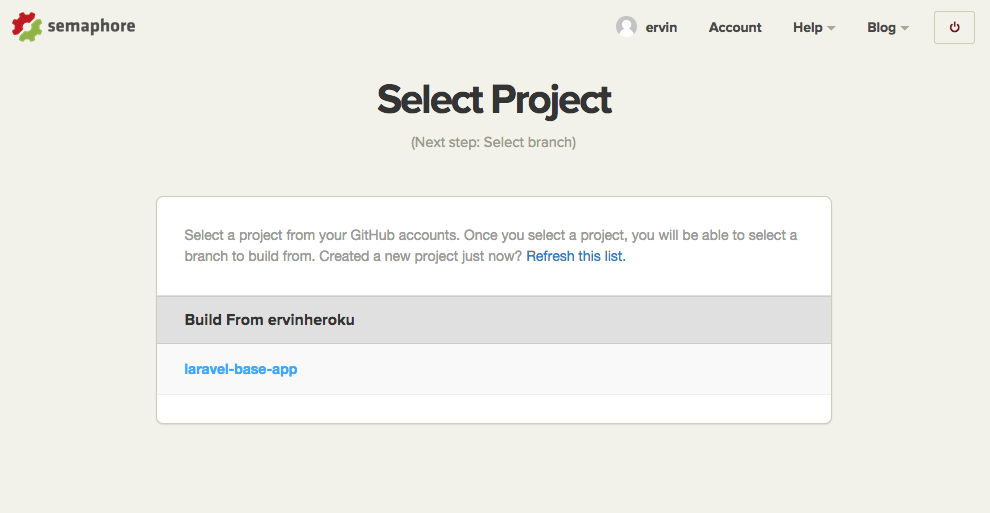
After receiving access to your public information on GitHub, Semaphore will present you a list of available projects to choose from.
After you select a project, Semaphore will analyze it and suggest some common build commands.
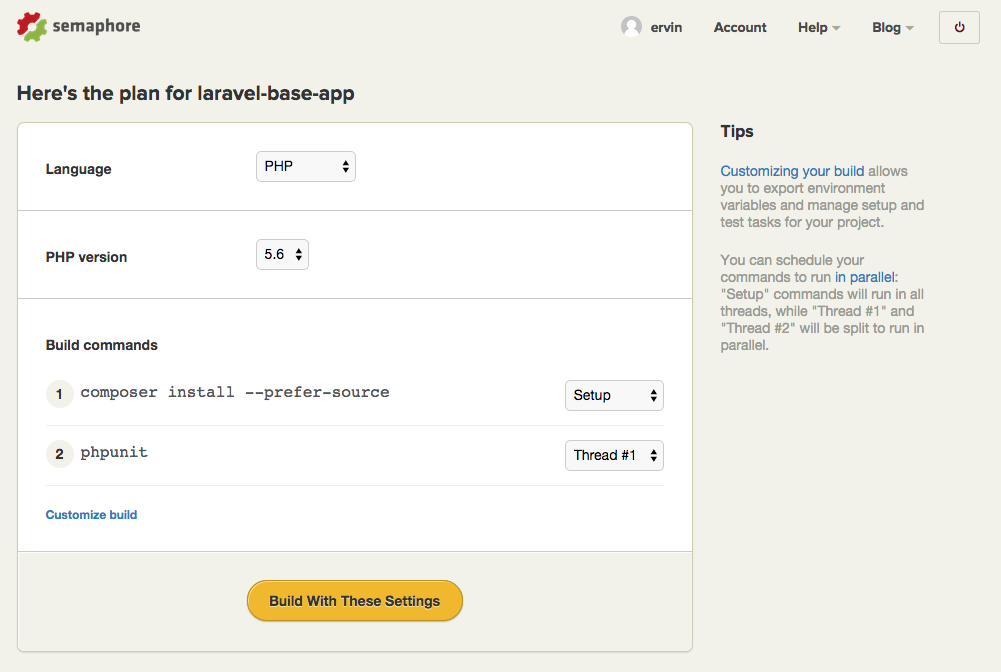
At this point, we are ready to launch the first build.
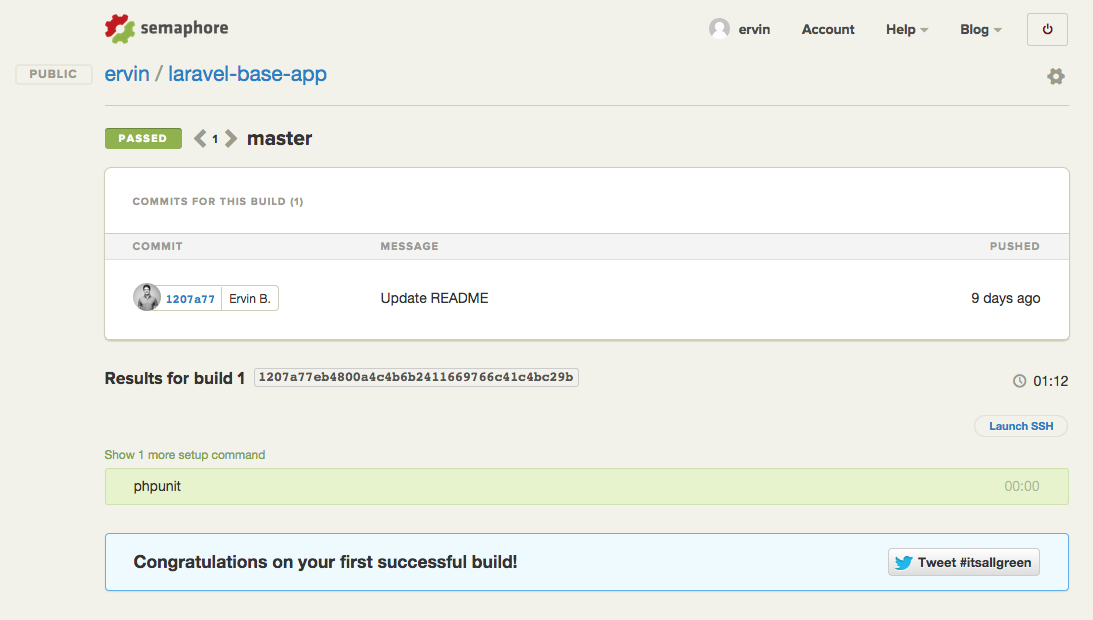
Great! Now we have a fully set up continuous integration for our project. Every time you or other people push new code to GitHub, Semaphore will run a build to test it.
Setting up continuous deployment to Heroku
Say you’ve worked on your app for a while and have come to a point where you’d like to deploy it to your users. Instead of doing this manually every time, we can use Semaphore to do it for us automatically every time a build passes for a specific branch.
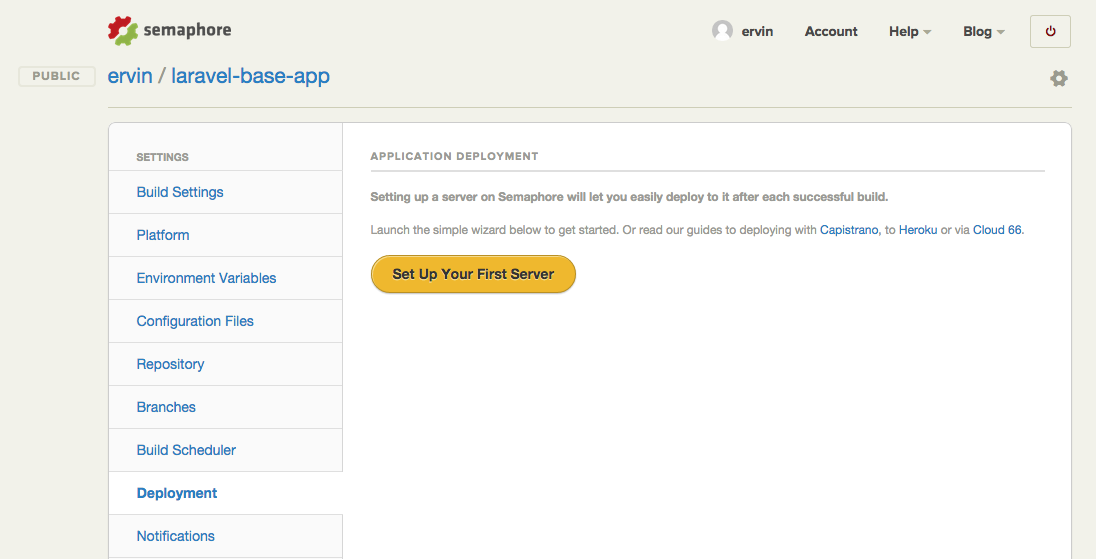
Opening the deployment section of project settings allows you to add a server to which we’re going to deploy.
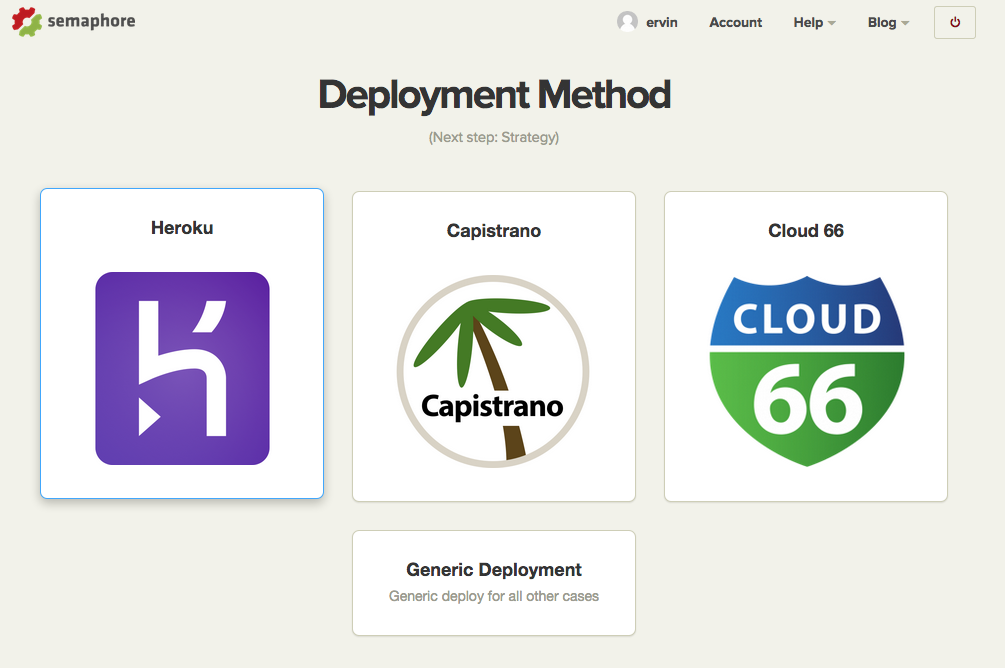
Choose Heroku from our supported deployment methods.
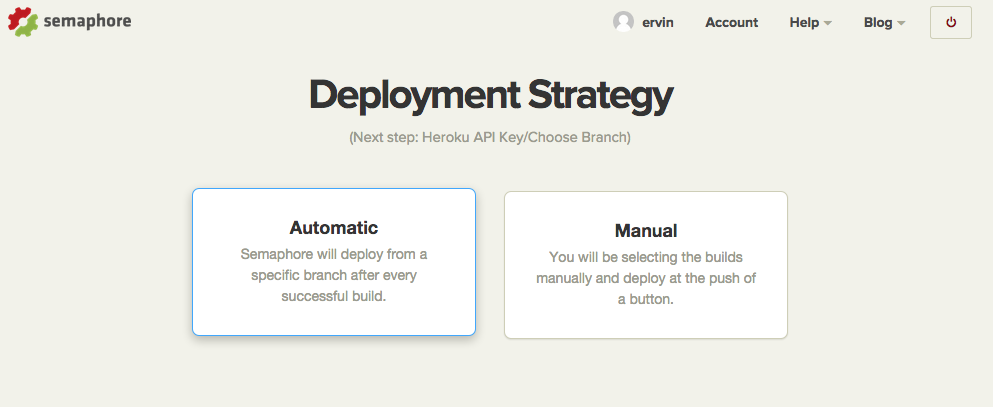
The deployment can be automatic or manual. In the spirit of continuous delivery, we’ll go with automatic deployment.
After pasting your Heroku API key on Semaphore, choose the previously created Heroku app, name the server and you’re ready to go.
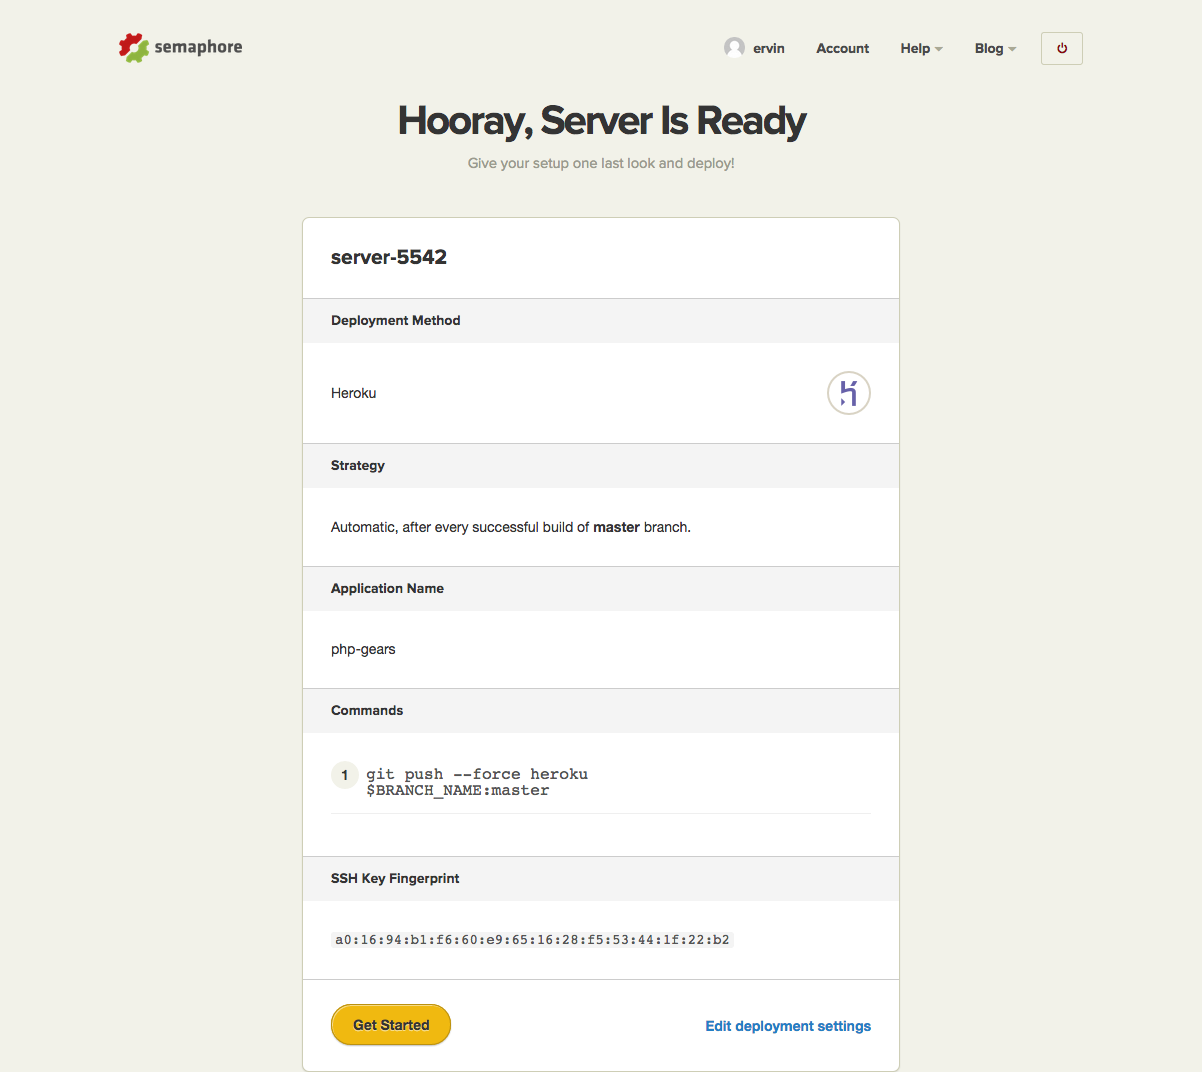
Clicking the Get Started button will finish the deployment setup. Semaphore now has all the information it needs to automatically deploy your application.

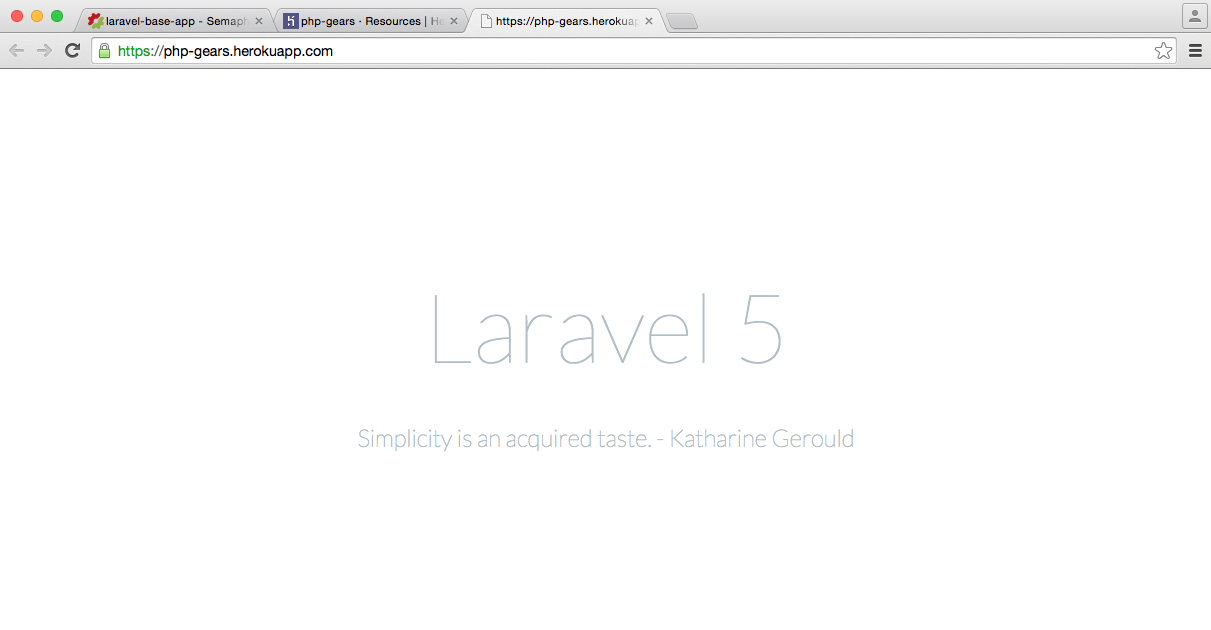
Now every time you push a new commit to Github and all tests pass, Semaphore will deploy the new version of your application to Heroku.
You or any of your collaborators can always trigger the deployment manually on the build page of a branch. This is especially useful when you need to deploy a feature branch to a staging server.
One thing to note is that by default many projects include the composer.lock file in .gitignore but that way deploying to Heroku will not work, so it’s a good idea to remove it from there.
We have gone through the process of setting up continuous deployment for a PHP project. Along the way, we leveraged some useful features of Semaphore and Heroku. Armed with this knowledge, we made delivering software much more streamlined and manageable.