


This post was written by Scott Anderson. It was originally published on the Nanobox blog.
Semaphore is a continuous integration (CI) platform that runs your automated code tests and triggers specific actions based on the results. This article walks through how to use Nanobox and Semaphore to test your code and automate deployment.

Semaphore provides a really simple UI that allows you to build flexible testing / integration / deployment workflows. This article covers the basics of using Nanobox with Semaphore to automate testing and deployment.
Nanobox
Nanobox is a “micro-platform” that builds and runs your application anywhere – your local machine, a CI server, or in production – using settings defined in your boxfile.yml. You can learn more about Nanobox here.
Since this article is meant to focus on using Nanobox with Semaphore, I’m going to skip the details of configuring your app for Nanobox. The Getting Started Guides walk through using popular languages and frameworks with Nanobox, and are the best place to get that information.
Sample Codebase
This walk-through uses my Sample Phoenix App. One of the reasons I chose Elixir/Phoenix is because of a handy testing utility built into Mix that makes writing and running tests really easy. All I need to do to run the app’s tests is:
mix test
I’ll use this to test my code before deploying to my live app.
Create a New App on Nanobox
In order to automate the deployment of an app with Nanobox, you must first create an app with Nanobox. The process of creating an app is documented in the Launch an App doc.
Set Up Your Project on Semaphore
Semaphore integrates directly with GitHub and BitBucket. Go ahead and create a Semaphore account and connect it to your GitHub and/or BitBucket account(s). It’ll walk you through the process.
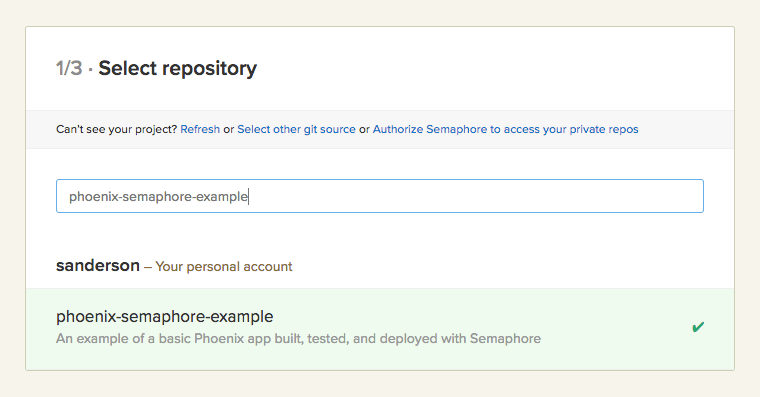
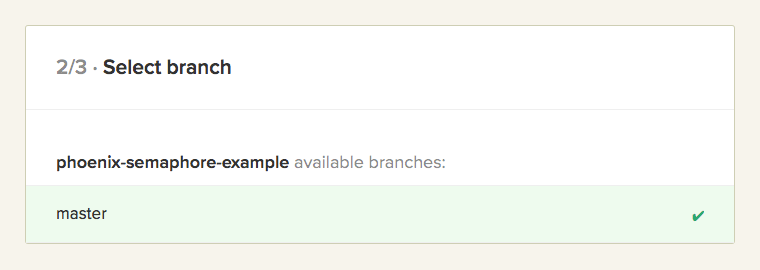
Select Your Project Repo & Branch
Once connected, select which project you want to use and the branch off which you you want to run tests.
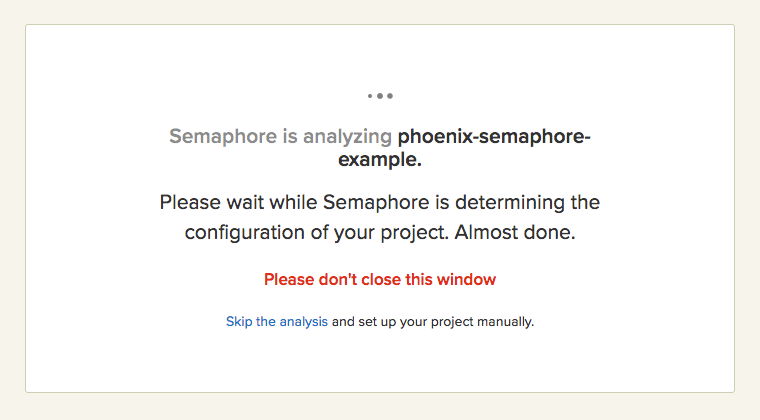
After selecting your project and branch, Semaphore is going to analyze the repo and try to guess what’s needed in the environment.
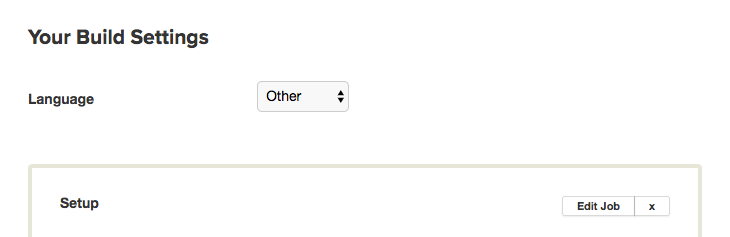
Configure the Project
Since Nanobox builds the runtime and environment for you, you can override the detected language and set it to “Other.”
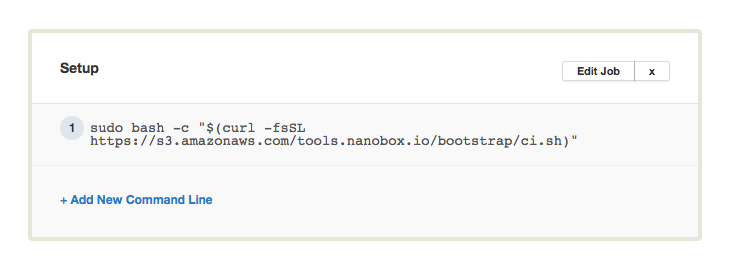
Setup with the Nanobox CI Bootstrap
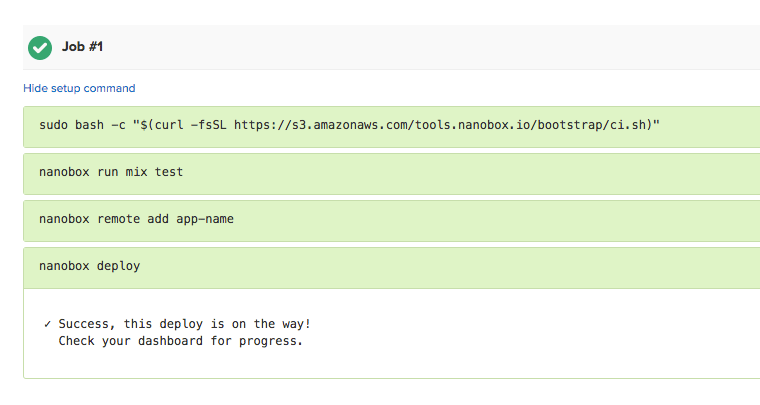
Click “Edit” above the Setup script and replace the default contents with the command below. This will download and run the Nanobox CI Bootstrap script which will install and configure Nanobox on the CI server.
sudo bash -c "$(curl -fsSL https://s3.amazonaws.com/tools.nanobox.io/bootstrap/ci.sh)"
Define the Job
For the job, I’m going to use Nanobox to run my tests with nanobox run mix test (Replace mix test with whatever command you use to run your tests). If my tests pass, I’ll add my newly created app as a remote, then deploy.
nanobox run mix test
nanobox remote add app-name
nanobox deploy
Be sure to replace app-name with your actual app name. If it’s a team app, use the pattern team-name/app-name.

Stop the First Build
Once you save the build settings, Semaphore is going to try to run the build. Go ahead and stop it. You need to make a few updates to the Platform settings before everything will run successfully.
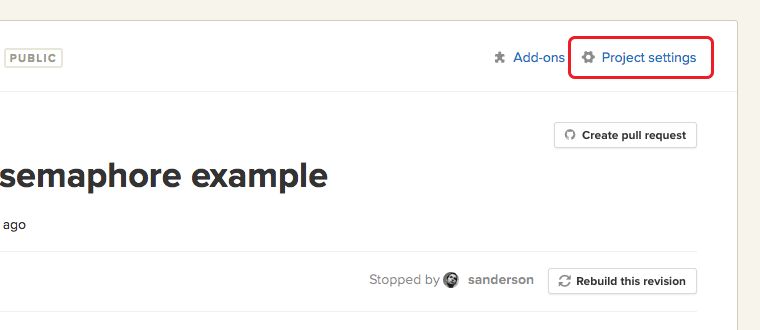
Configure Project Settings
In your project settings, you’ll need to update the Server Platform and add your Nanobox account credentials as environment variables.
Update the Platform
Under the Platform Tab, update Platform to use Ubuntu 14.04 with native Docker support.

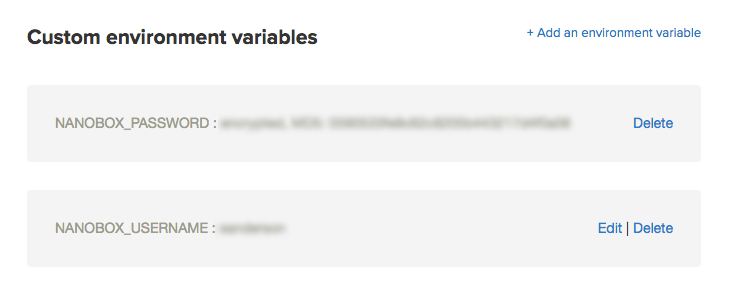
Add Nanobox Environment Variables
To be able to deploy to your Nanobox app, you need to add your Nanobox account credentials using NANOBOX_USERNAME and NANOBOX_PASSWORD environment variables. Add these under the Environment Variables tab in your Semaphore project settings. I recommend encrypting your password.
Start a New Build
You’re now ready to start a new build and run your tests. In your Semaphore dashboard, view the build details of your stopped build and click the “Rebuild this revision” button. Or you can just push a new commit to your repo/branch to trigger a new build.
That’s It!
That’s all there is to it. Semaphore will fire up a new server, install Nanobox, then use Nanobox to run your app’s test. If the tests pass, it will add your live app as a remote and deploy. This process gets triggered anytime you push to the specified branch of your project’s repo. The output of the process is available in your Semaphore dashboard.
Happy building!
If you’re new to Semaphore, learn more about our hosted continuous integration and delivery service, or click here to sign up.